There’s a saying in weaving that by the time you actually start weaving you’re half finished with the project. That’s a bit of an exaggeration, but honestly not by much. Threading the heddles and reed is especially time consuming, and each step of today’s tutorial took me a whole afternoon of work!
- Step 5: thread the heddles
- Count out how many heddles you’ll need on each shaft, as per pattern
- Make sure any excess heddles are approximately evenly distributed on either side of the loom (this prevents long term damage to the loom from uneven distribution of weight)
- Untie your first bundle of yarn and count out how many heddles on each shaft you’ll need just for that bundle
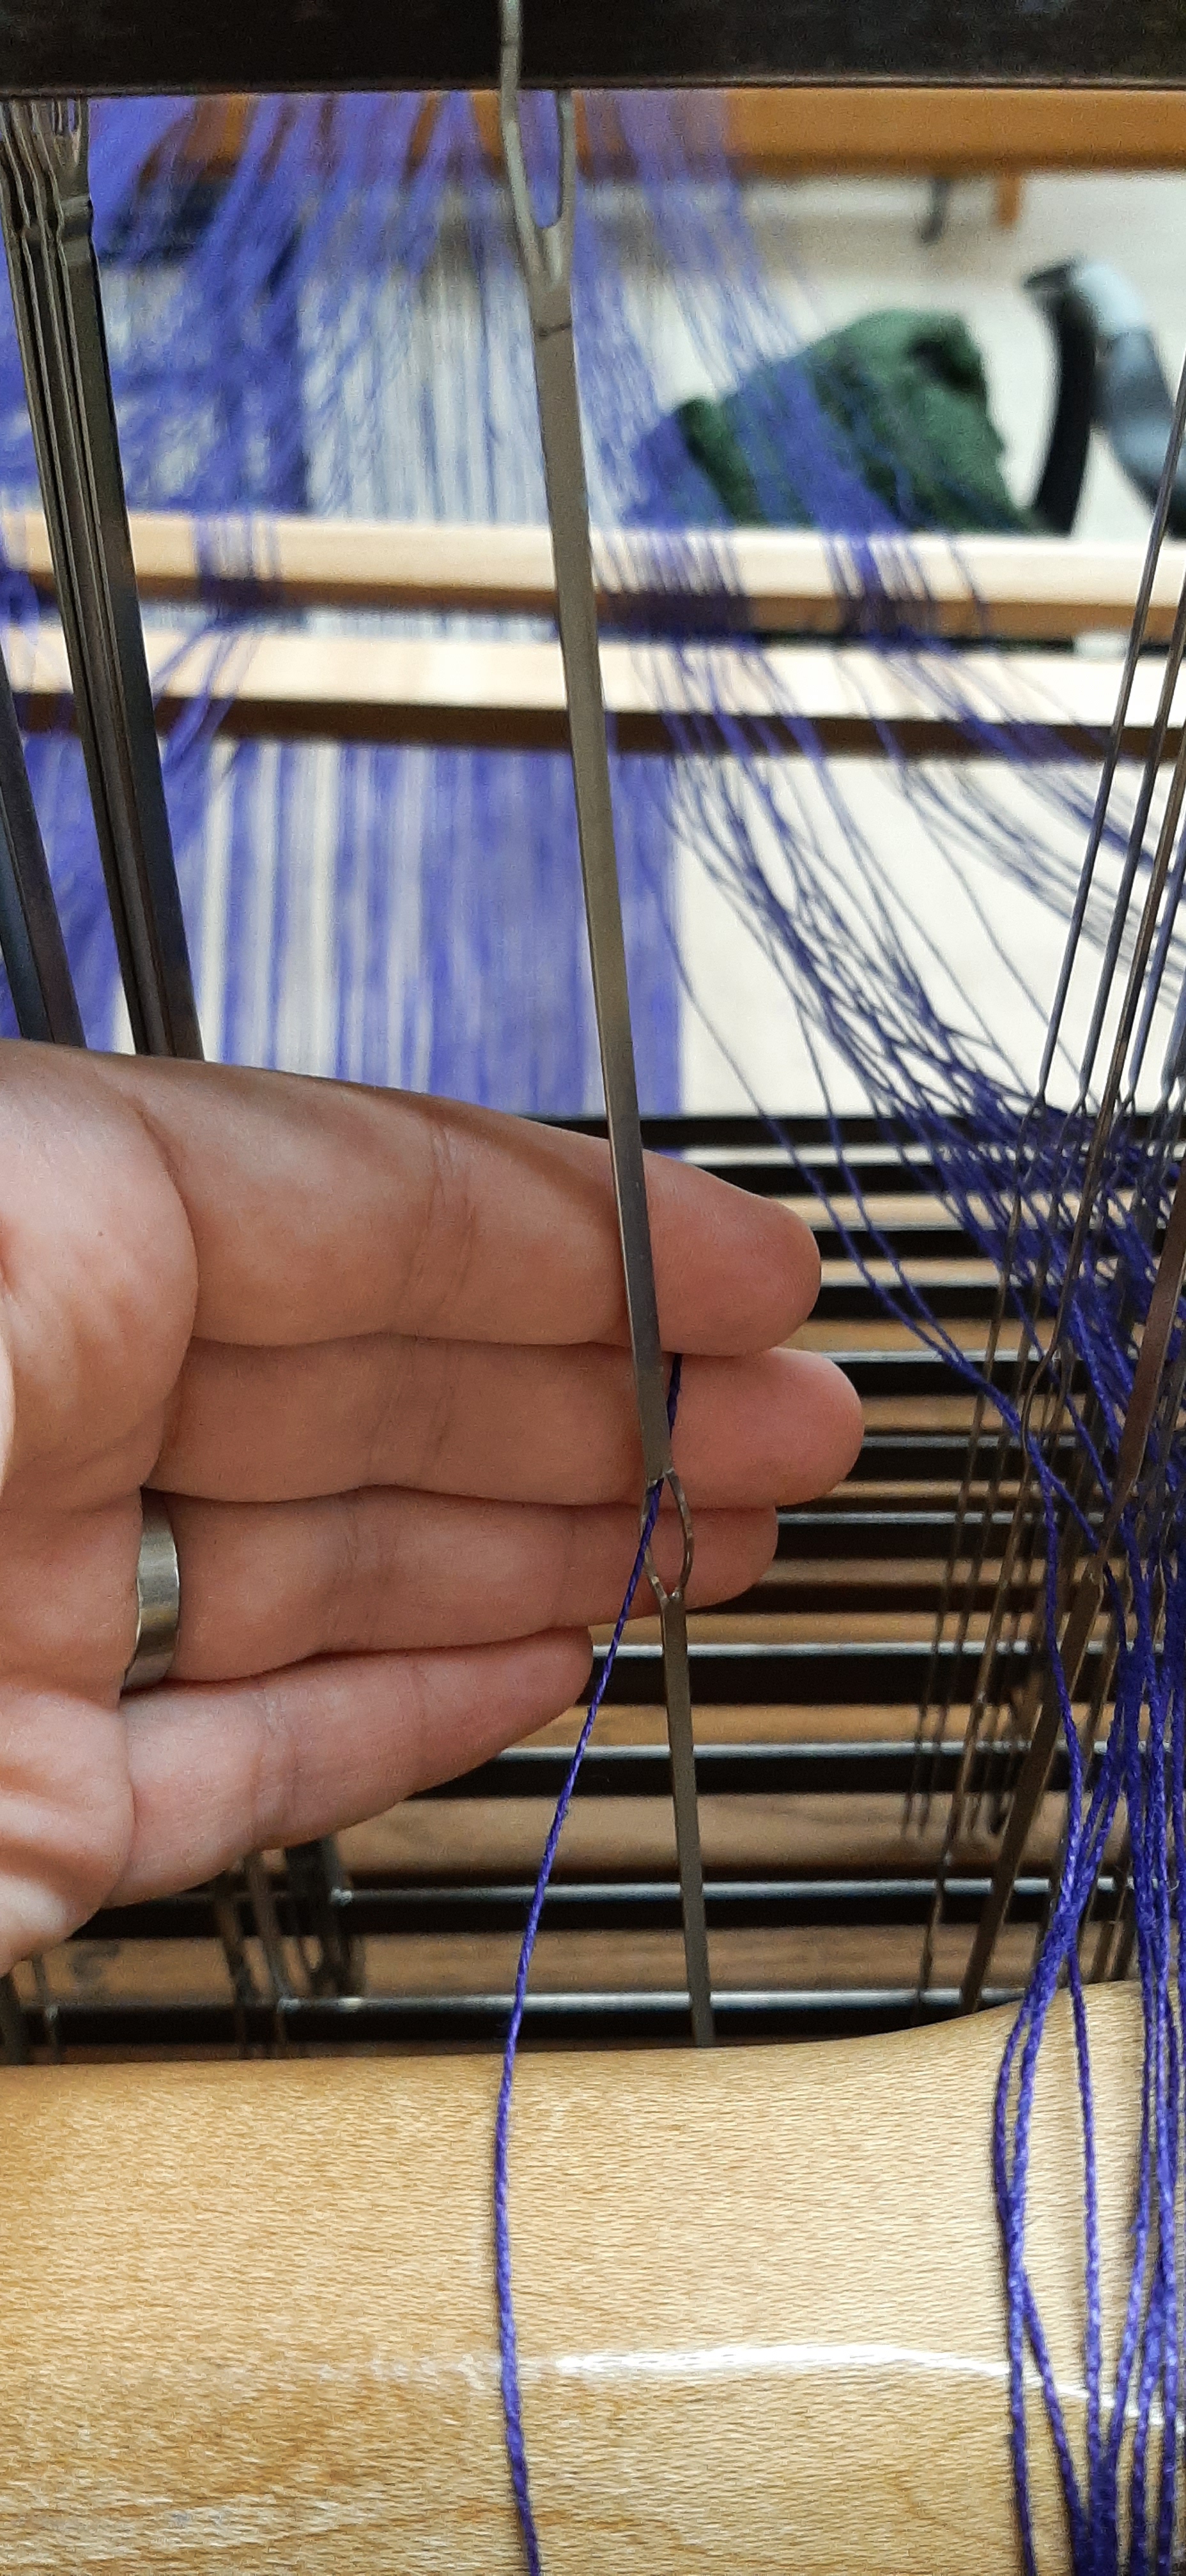
- Thread each individual thread into one heddle
- Be sure to pull the threads in order
- This is why the cross is so crucial! Pull the threads from all the way back at where the lease sticks are holding the cross and they’ll be presented in the correct order without tangles.
- Your pattern will tell you what order to thread heddles from which shafts
- After you’ve threaded the whole bundle, recount your heddles make sure that they’re all threaded in the correct order with no crossed threads, then retie the bundle
- Don’t skip this!! Mistakes in threading can only be fixed in order, it’s worth the extra couple minutes of counting to catch errors as you go rather than have to redo it all later.
- Be sure to pull the threads in order
- Repeat with the next bundle of threads, and continue until all the heddles are threaded and all bundles are retied
- Count out how many heddles you’ll need on each shaft, as per pattern


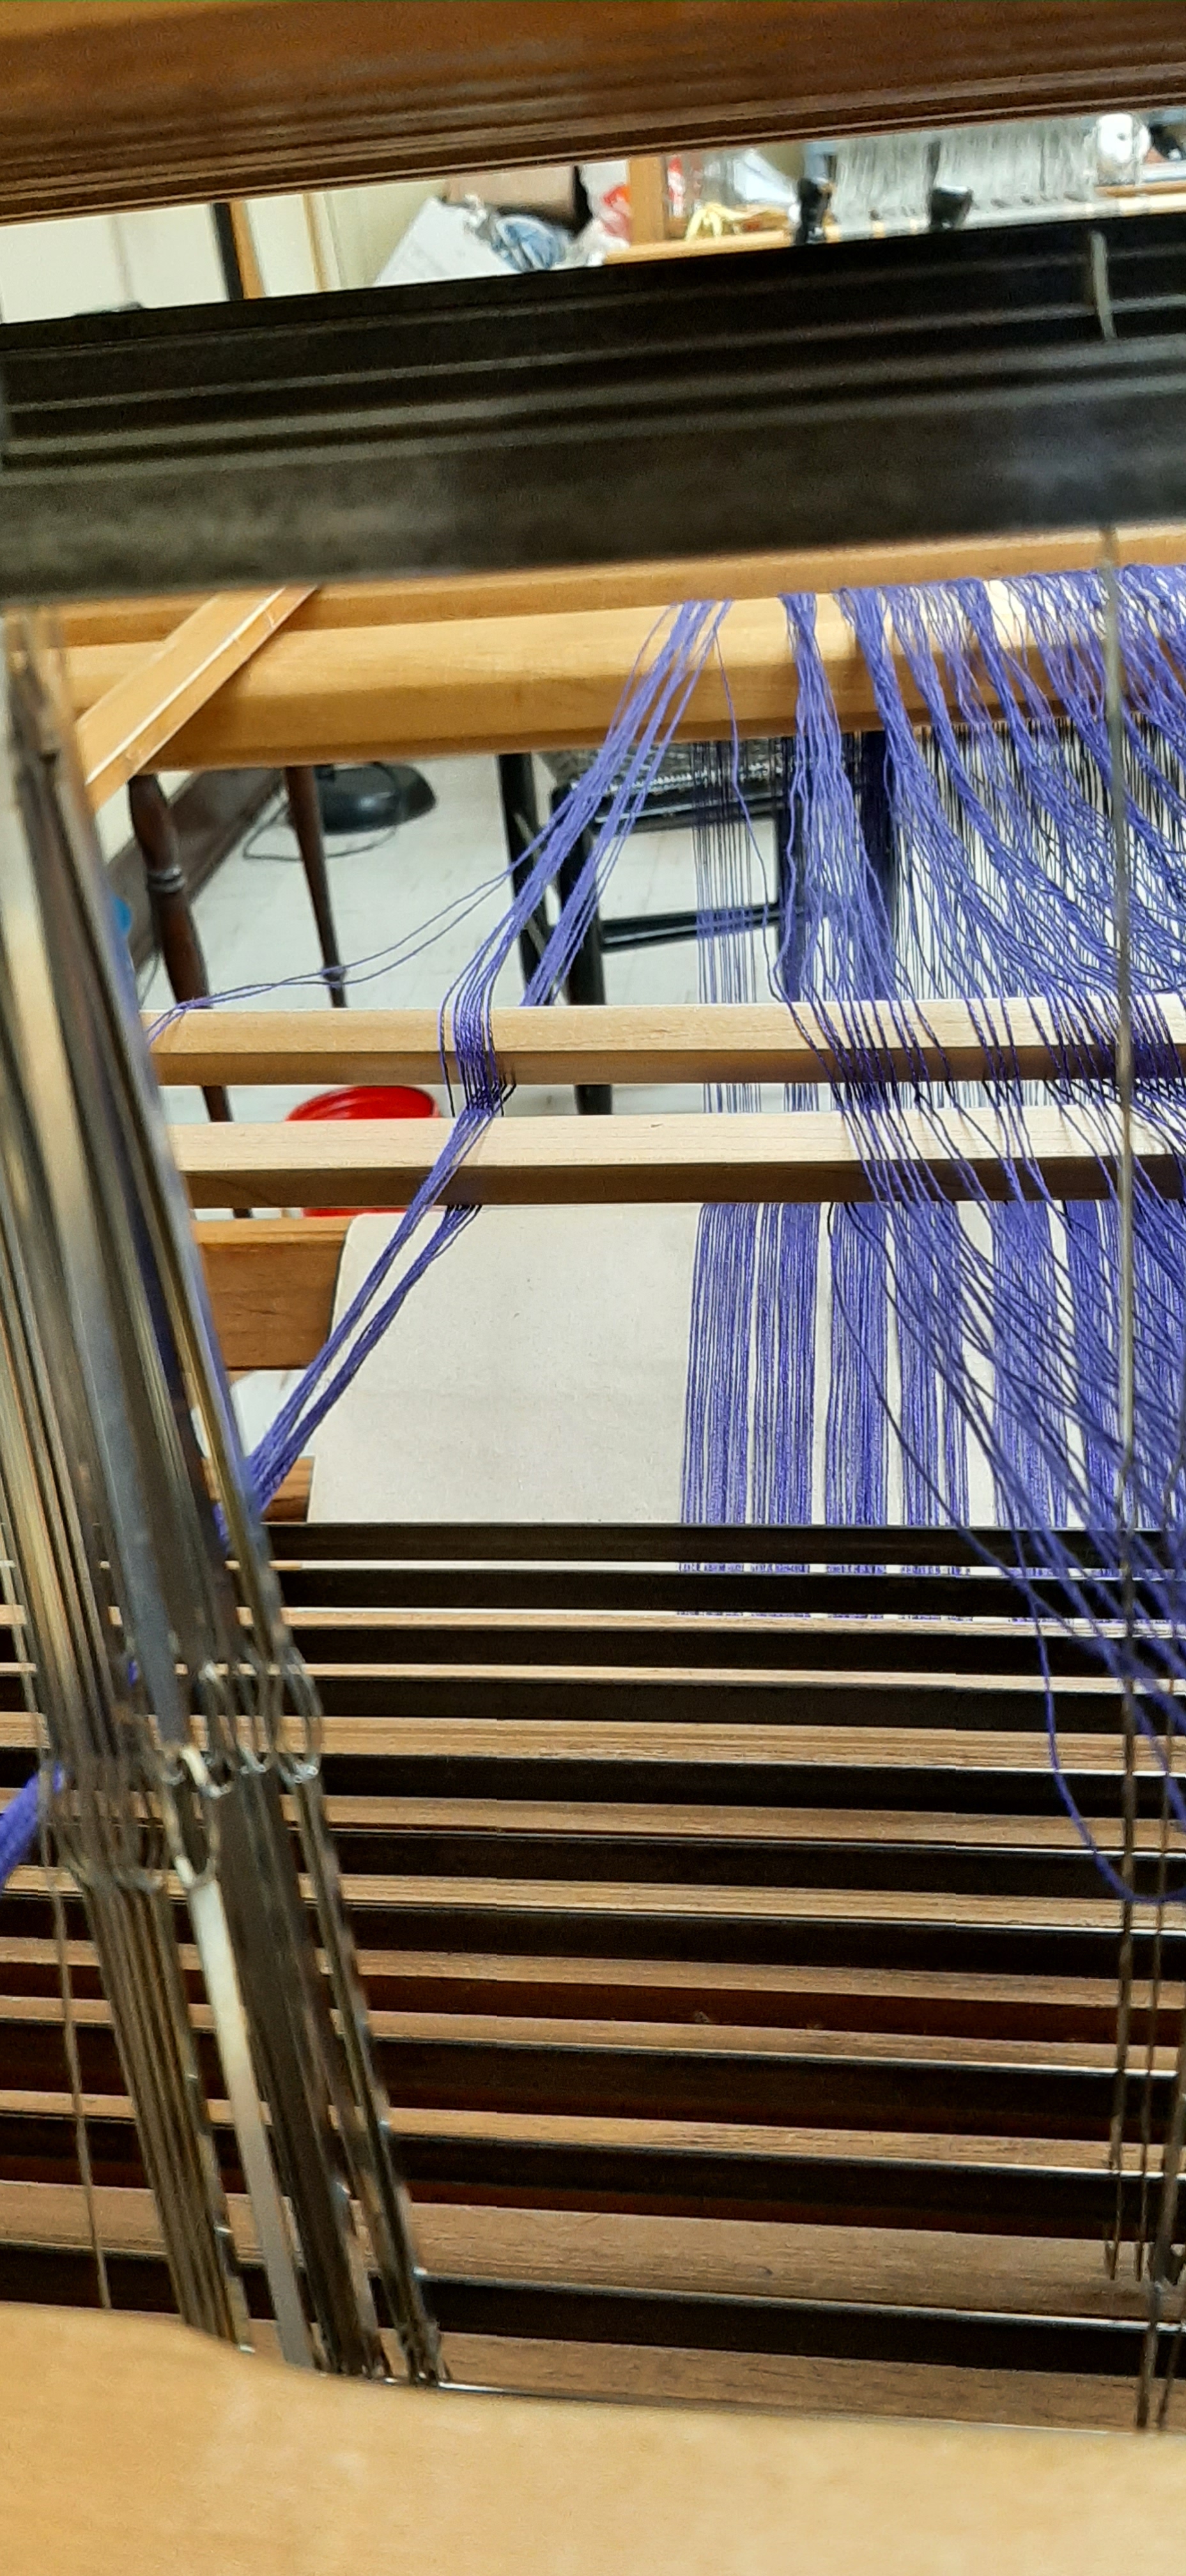
- Step 6: thread the reed
- Take a reed of the appropriate size (your pattern will give a DPI, dents per inch)
- Tie the reed onto the wood supports so it less flat across the front of the loom, just in front of the sheds
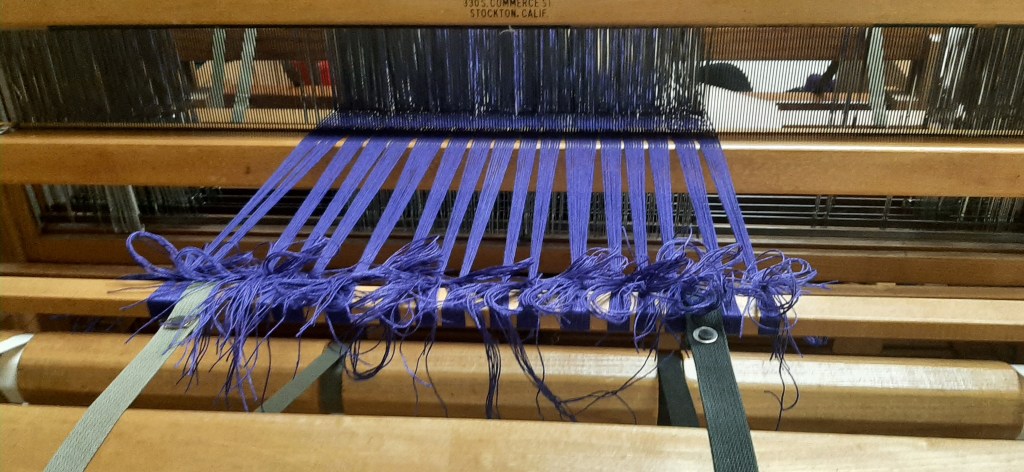
- Untie one bundle of ends at a time and thread 2 ends into each dent into the reed
- Let the loose threads hang down behind the back of the reed, then use a threading hook to teach through the reed and pull each individual thread up through the reed to the top
- Be sure the threads are centered on the reed
- 2 ends per dent is standard but some patterns might call for other numbers
- Retie each bundle once its ends are threaded
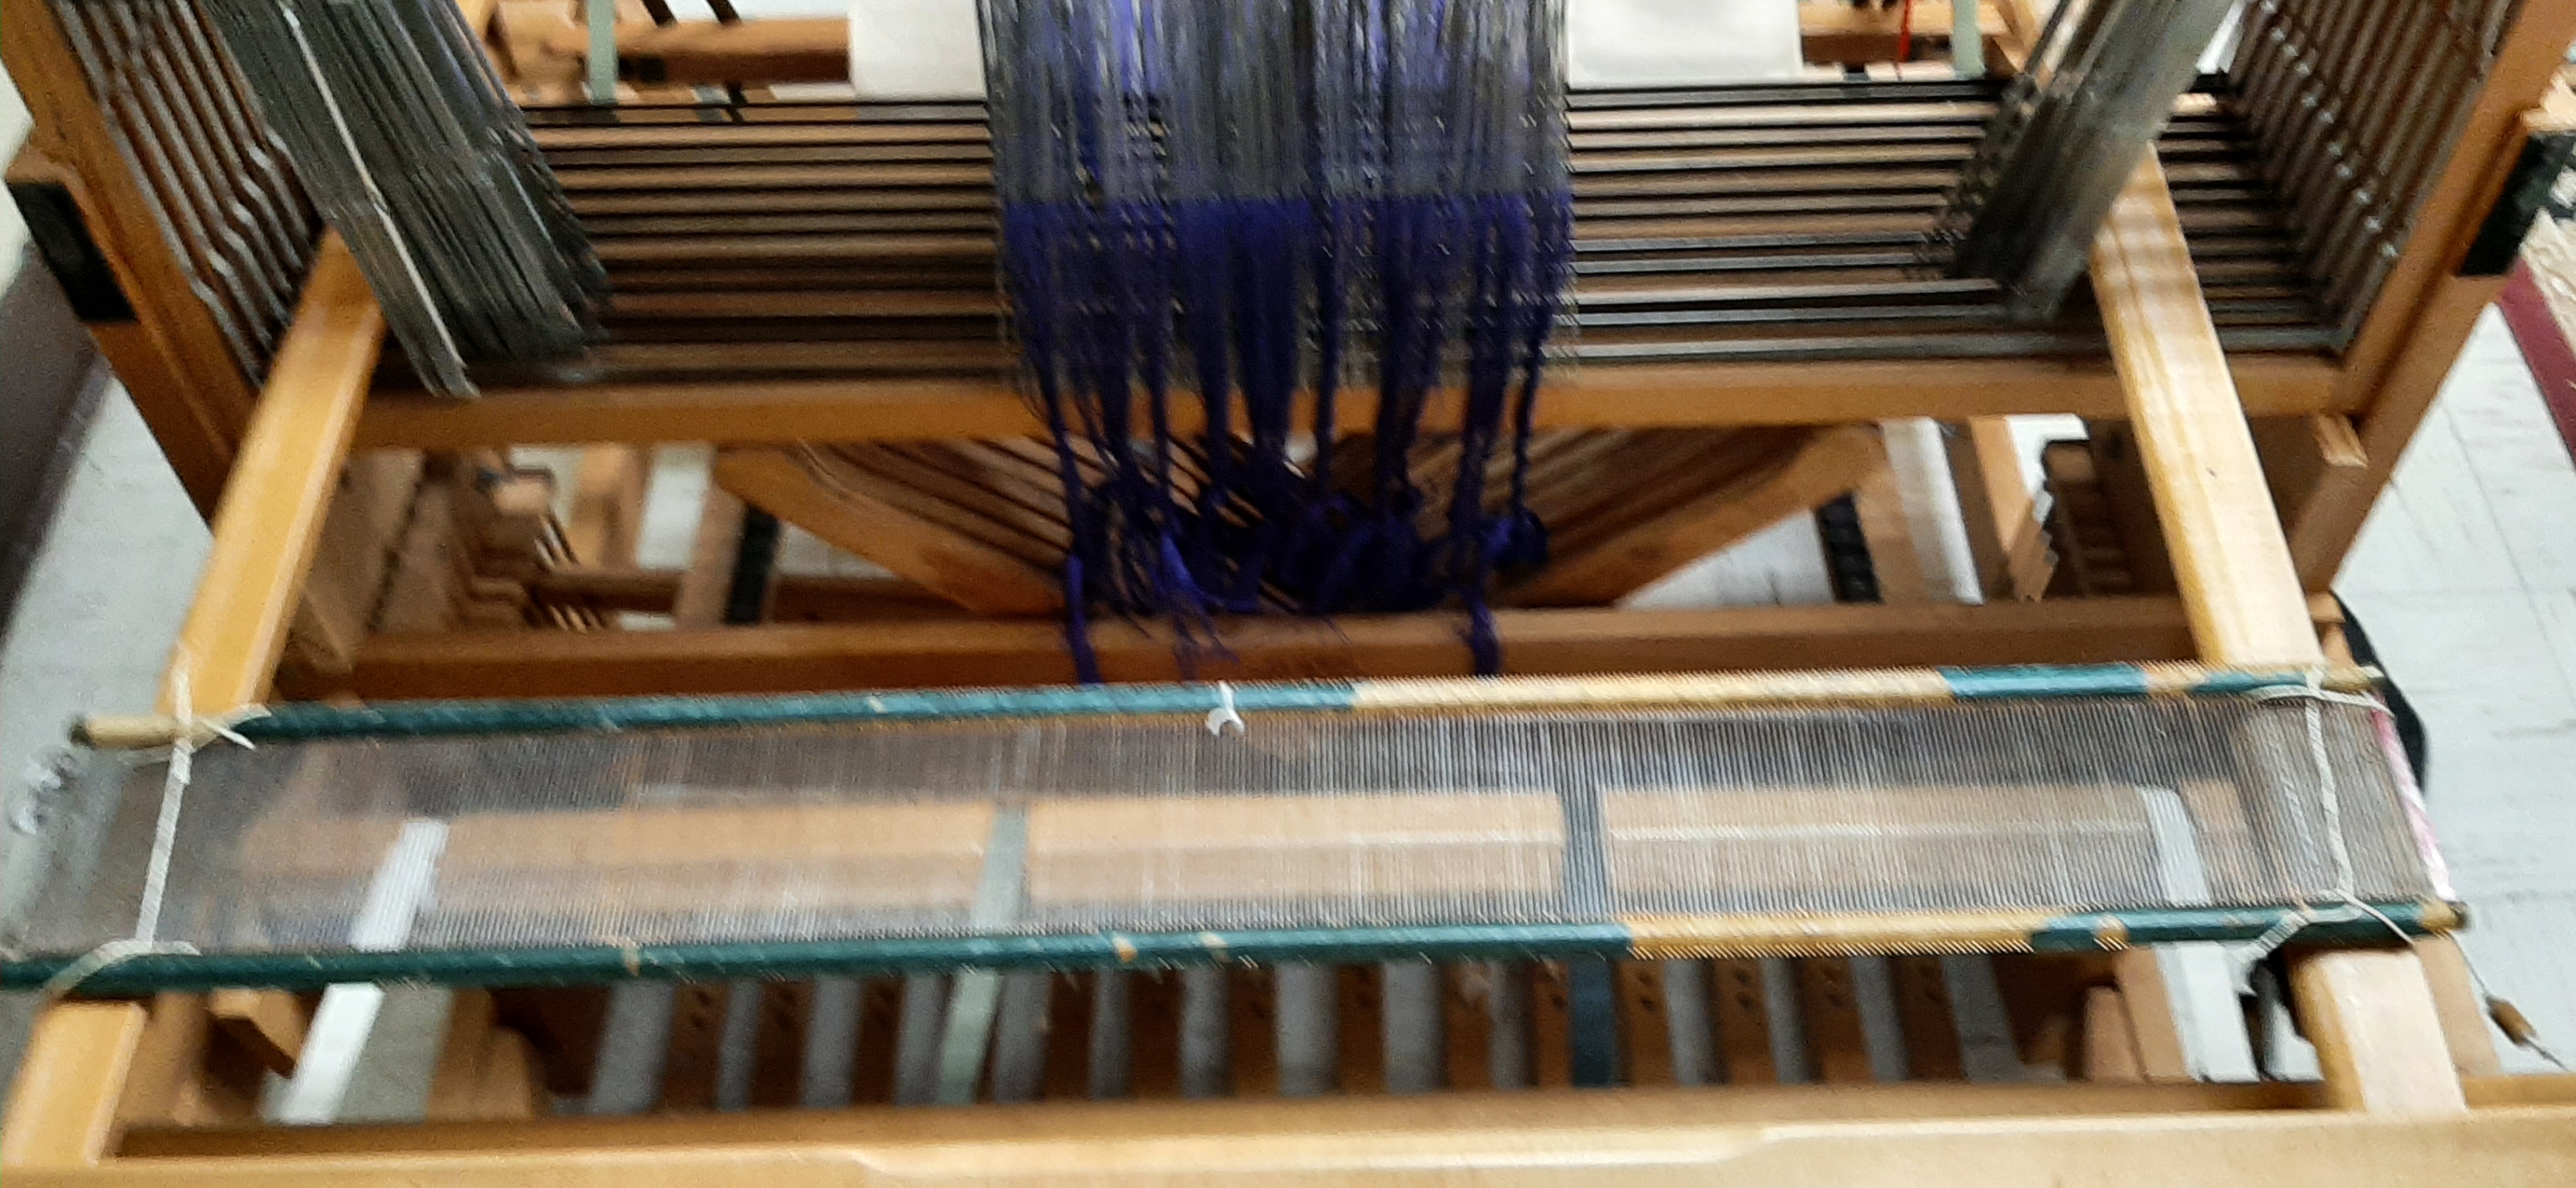
- Untie the reed from the wood support beams and turn it so its vertical, then secure it in place in the beater bar of the loom
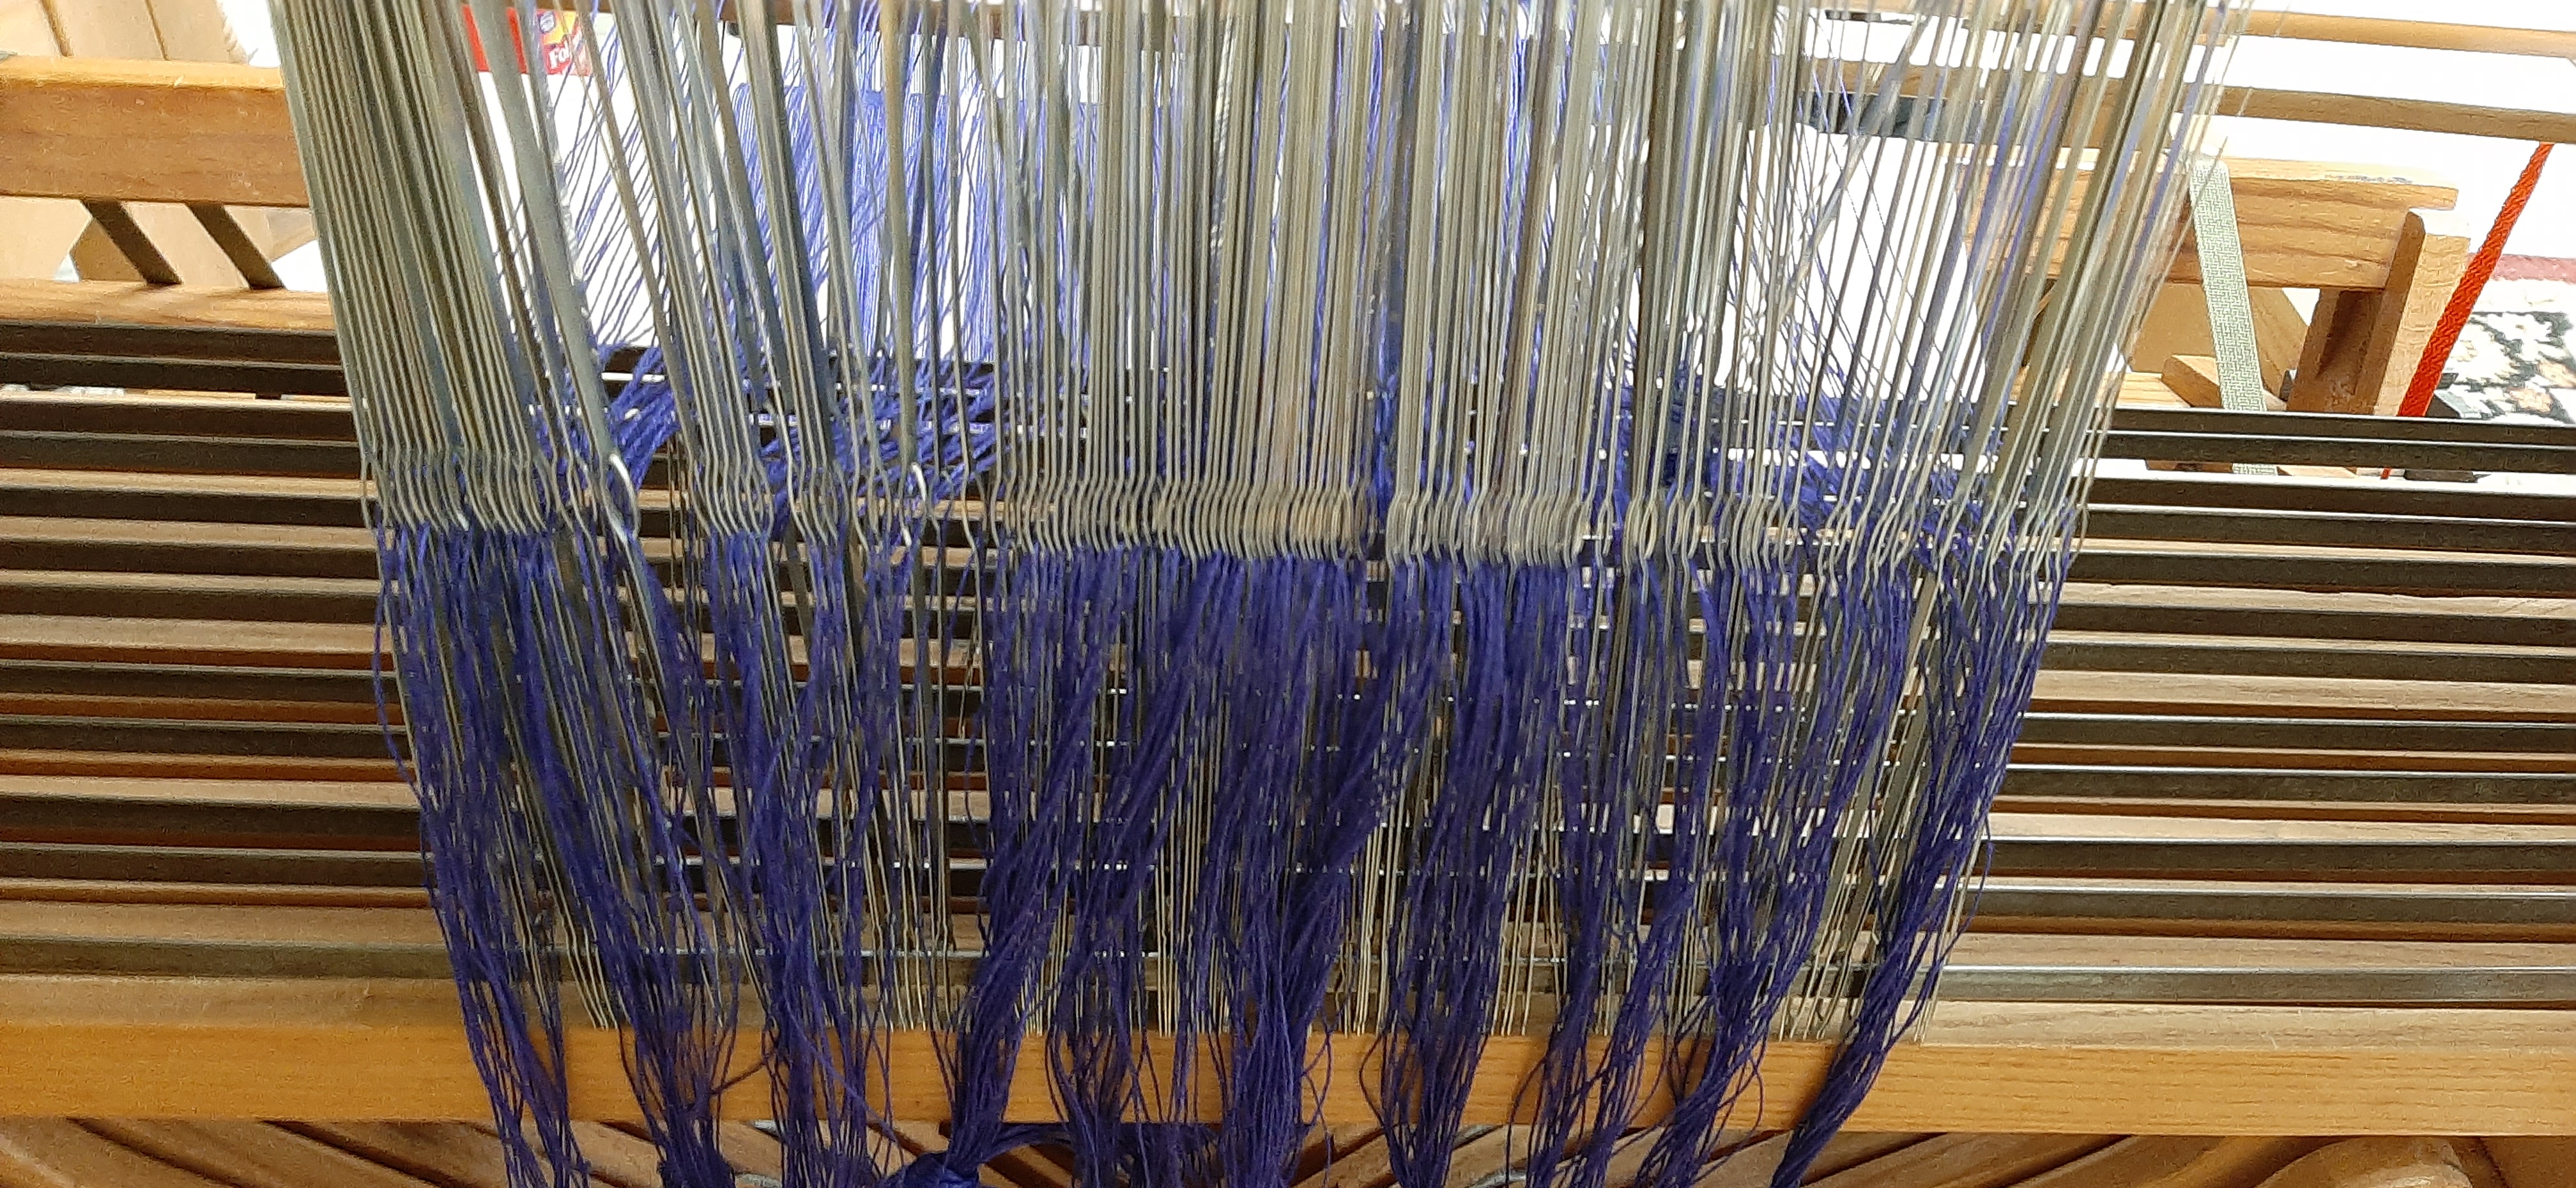
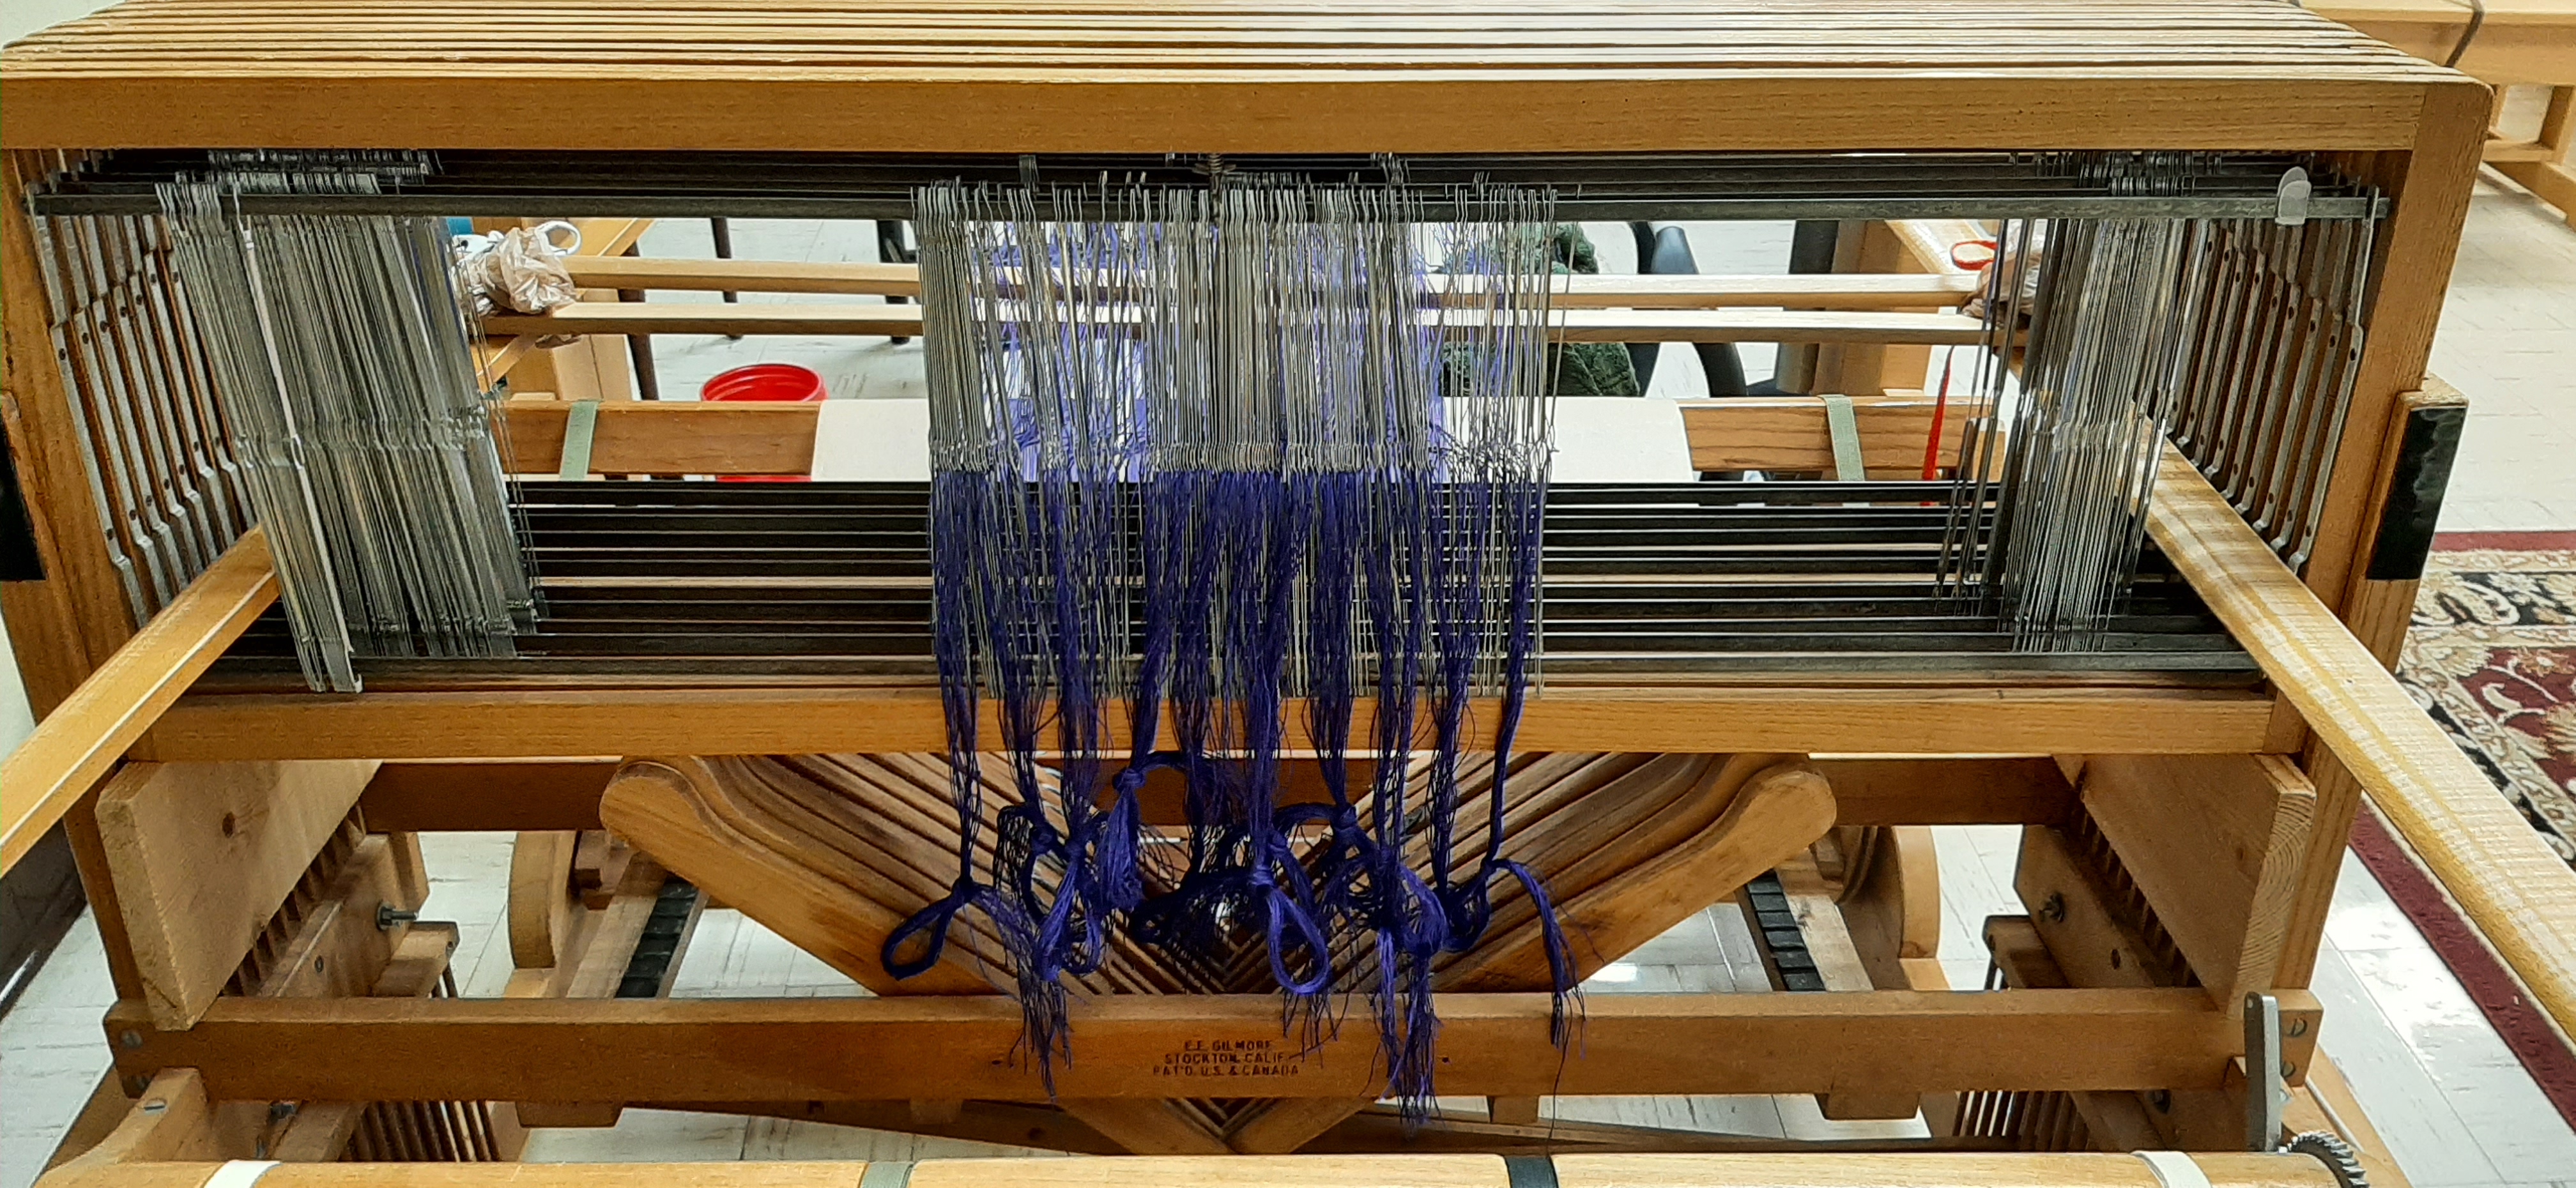
- Step 7: tie the warp onto the front beam
- Tie in bundles of 10ish threads (if your existing bundles are too big break them up a little)
- First tie one bundle into each end
- Then tighten the tension on the loom so the front beam stays in place
- Tie the rest of the bundles
- Use loose and easily adjusted knots or
- Make sure that the tension is consistent across all the threads
- This WILL take some adjustment, and you will need to tighten several bundles multiple times
- The tension here is crucial, take the time to get it right
- Once the tension is perfect, tighten all the knots so they stay secure
- Make sure heddles are evenly distributed across the shafts and clasp the hooks onto the bars or the shafts to hold the heddles in place
- This step is a final chance to triple check all of your threading from the previous 2 steps
- If there are any threads in the wrong heddles or any dents of the reed with the wrong number of threads, go back and fix it now
- Fixing an error does require unthreading everything to the point the error was made and doing it all over, there’s no shortcut!

- Step 8: tie up the peddles
- Sit under the loom and tie each foot peddle to the appropriate shafts, according to your pattern
- Make sure you get the tension such that when the peddle is fully pressed the shaft lifts as high as it will go
- For peddles that are attached to more than one shaft, double check that all shafts lift to exactly the same height when you press the peddle
- Barb showed me a fancy knot called “lark’s head”, but I also used a simple half hitch and that seemed fine
- Step 9: test your work–Now is the moment of truth to see if you did everything right!
- Press each pedal and check that you have a clean shed
- When you press a pedal, it should lift up about half the threads and make a space (called a shed) for the weft to pass through
- Run your hand through that space and make sure there are no loose or dangling threads
- Check the tension and make sure it’s consistent
- Make sure the right shafts are lifting with each pedal
- Make sure each shed is wide enough for a shuttle to easily pass through
- When you press a pedal, it should lift up about half the threads and make a space (called a shed) for the weft to pass through
- Press each pedal and check that you have a clean shed
And that’s it! Now, after somewhere on the realm of 20 hours of work, we’re finally ready to start weaving!
- Project: matzoh cover napkins
- Medium: weaving & embroidery
- Pattern: “Classic Linen Lace” from Handwoven Magazine, design collection, volume 11, page 3
- Material: bockens 100%linen color #487, weight 16/2
- Related Posts: l’shana haba’ah b’yachad https://owlweaver.wordpress.com/2022/05/03/warping-the-loom-part-1-of-2/
#weaving #embroidery #tutorial #workinprogress

Leave a comment