Before I started weaving I really had no idea what goes into the process of using a loom. Wikipedia defines weaving as “a method of textile production in which two distinct sets of yarns or threads are interlaced at right angles to form a fabric or cloth”. I understood the basic mechanics of the weaving process itself as taking that second distinct set of yarn, called the weft, and interlacing it through the first set of yarn, called the warp. But what exactly is a loom? At its most basic, all a loom does is hold the warp threads in place so that you can weave the weft threads through them.
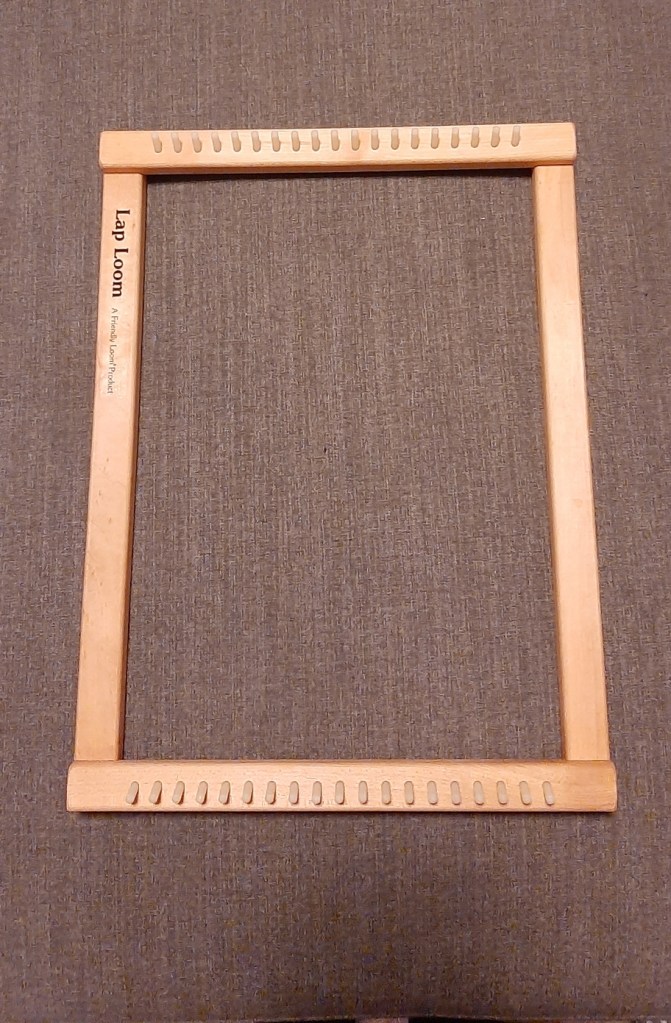
There are a ton of different kinds of looms out there. The simplest is called a frame loom, and it’s literally just a rectangle of wood (or metal, or even even cardboard) with either notches or pegs around the edges. To warp a frame loom you simply tie your warp threads onto the pegs. Of course, frame looms are very very limited. Bigger and fancier looms hold many more and longer warp threads, and also move the warp threads up and down while you’re weaving to facilitate in creating much more intricate and complex patterns. But they are also much more complicated to get the warp onto the loom!

So, as I’m starting my second big weaving project, my guild’s fearless leader Barb is again walking me through the process of warping a loom, and this time I’m taking notes and lots and lots of pictures to share with you (and to reference back to myself when I inevitably need a refresher for future projects!)
- Step 1: Take the top loop of the cross and thread it through to the middle of the back beam
- Make sure to include any ends of the warp threads, they need to be attached here!
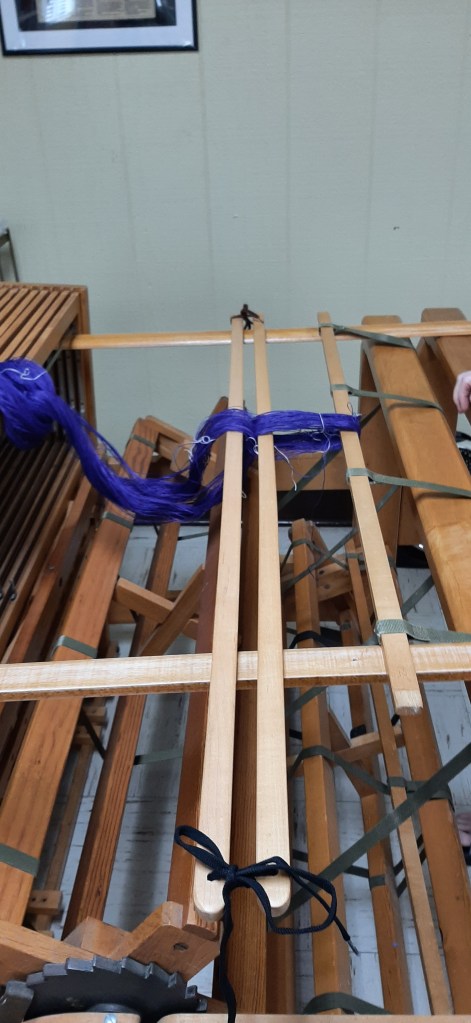
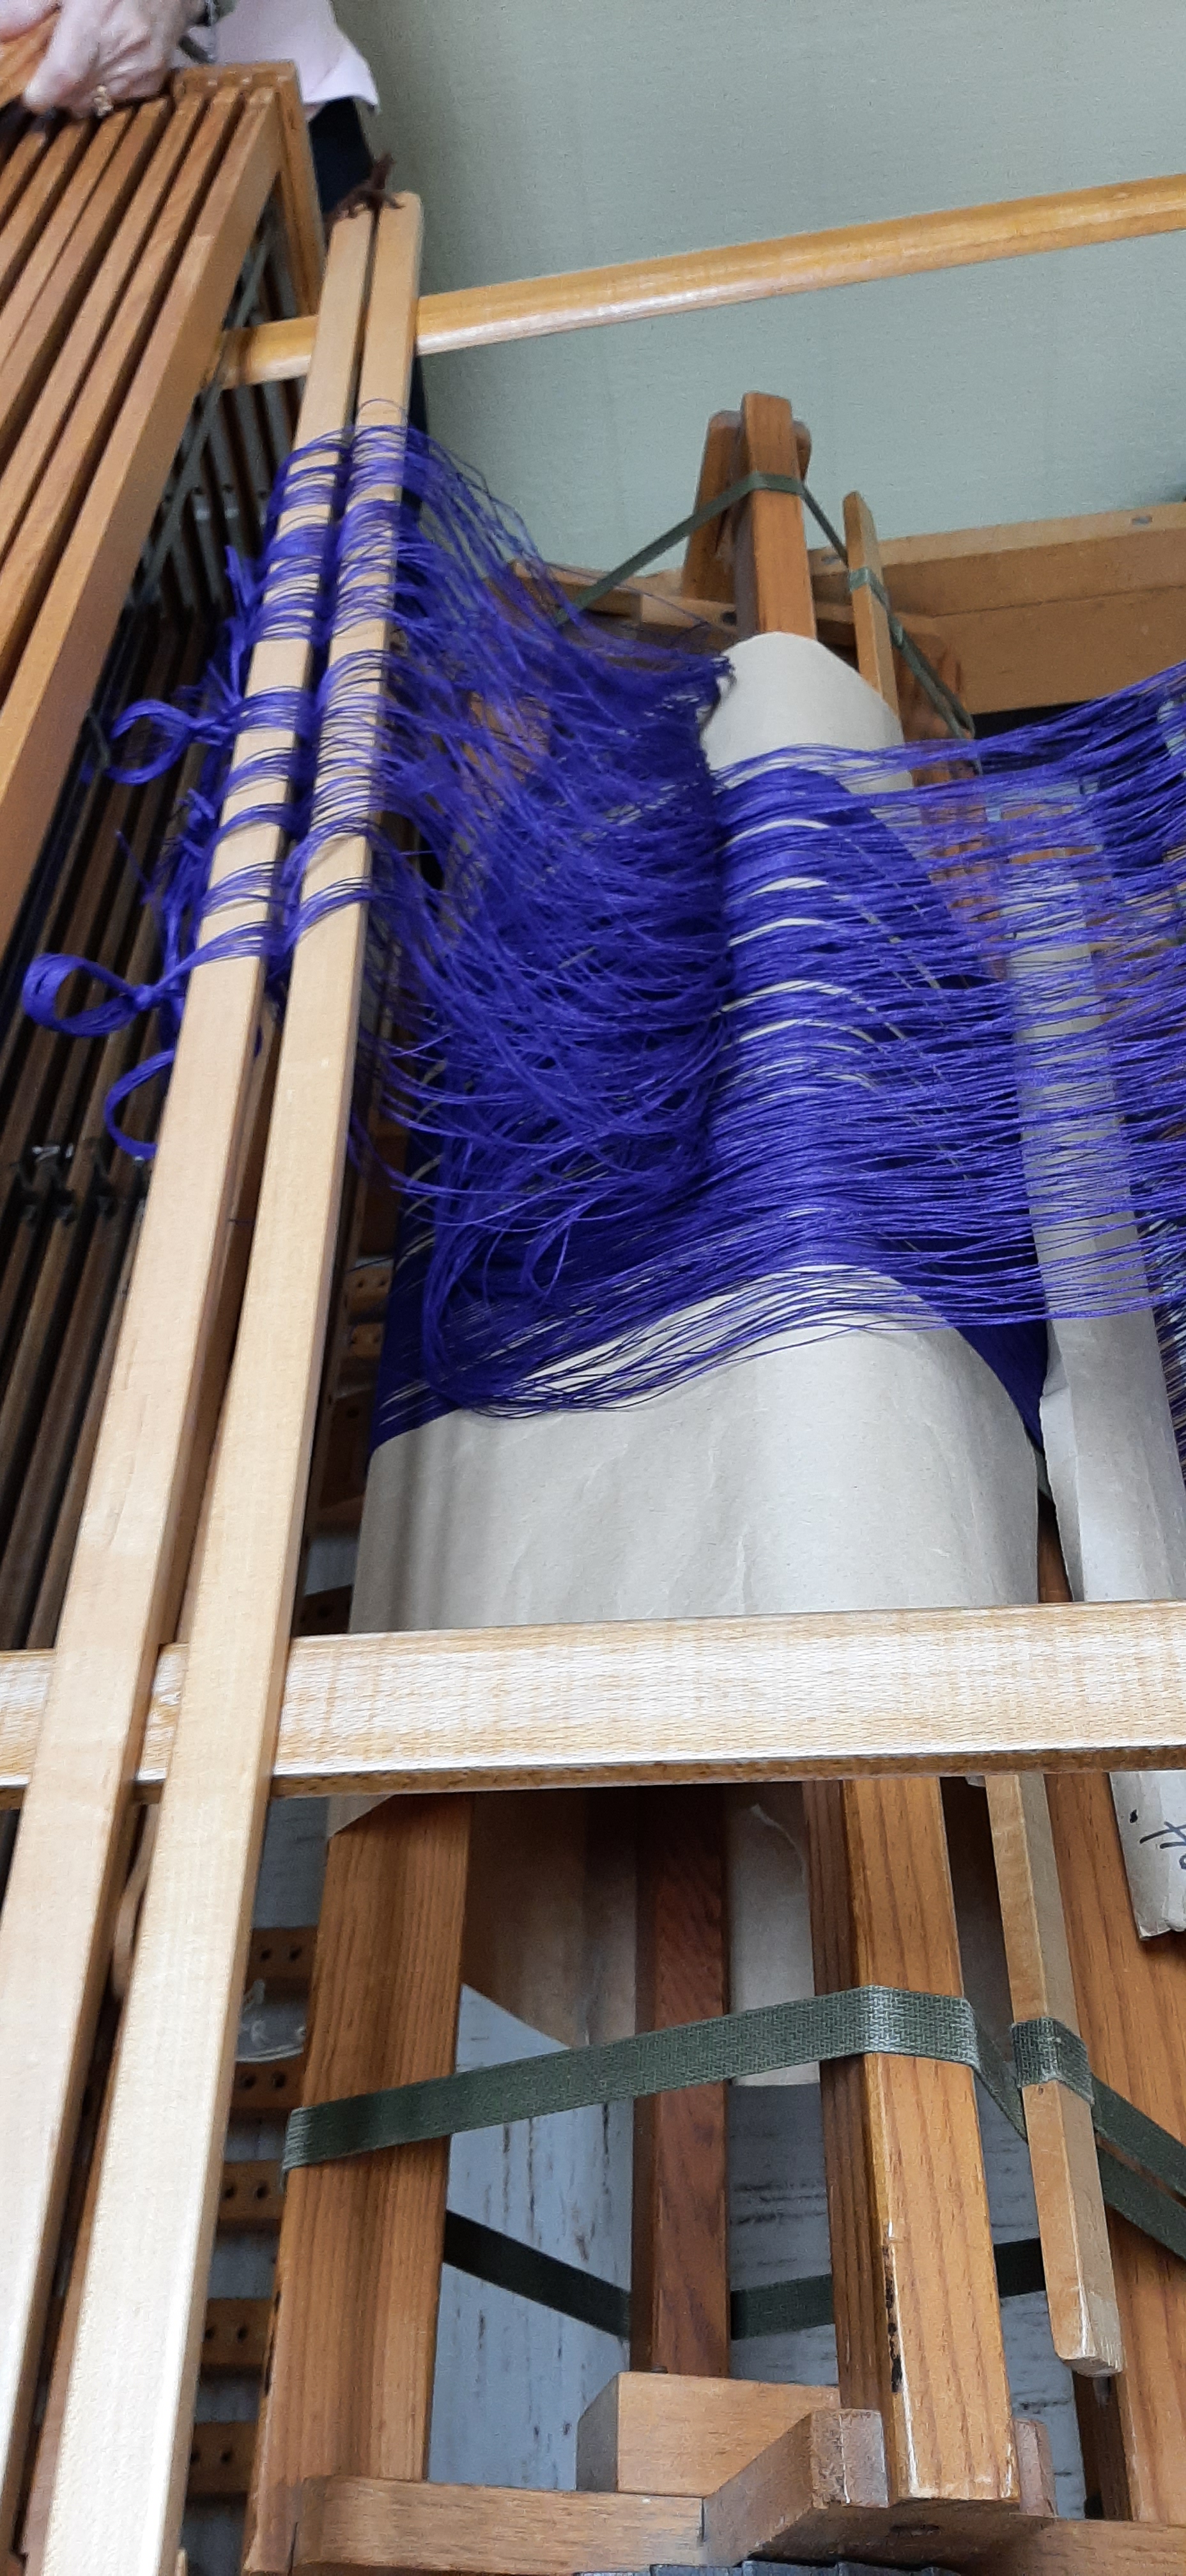
- Step 2: preserve the cross with lease sticks
- Put a long piece of wood (lease stick) on either side of the cross.
- Tie the lease sticks together to make the cross secure.
- Prop the lease sticks up on more wood running the length of the loom
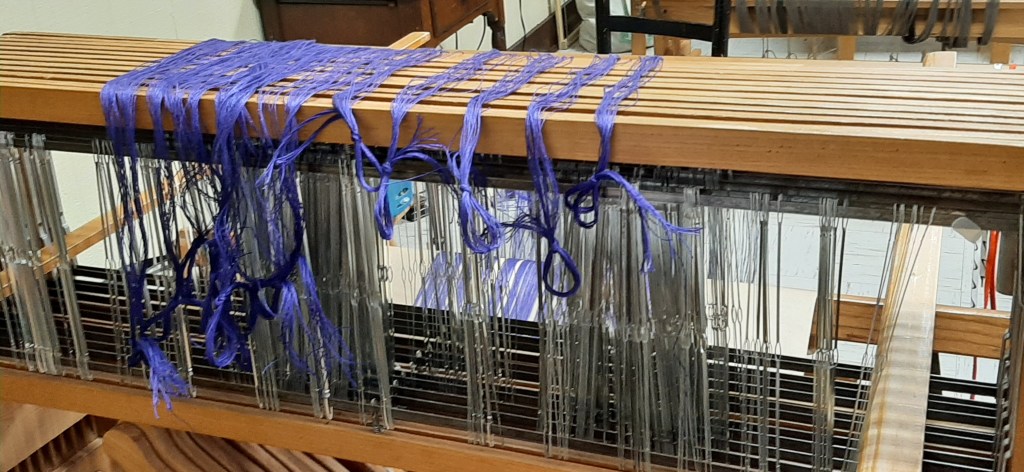
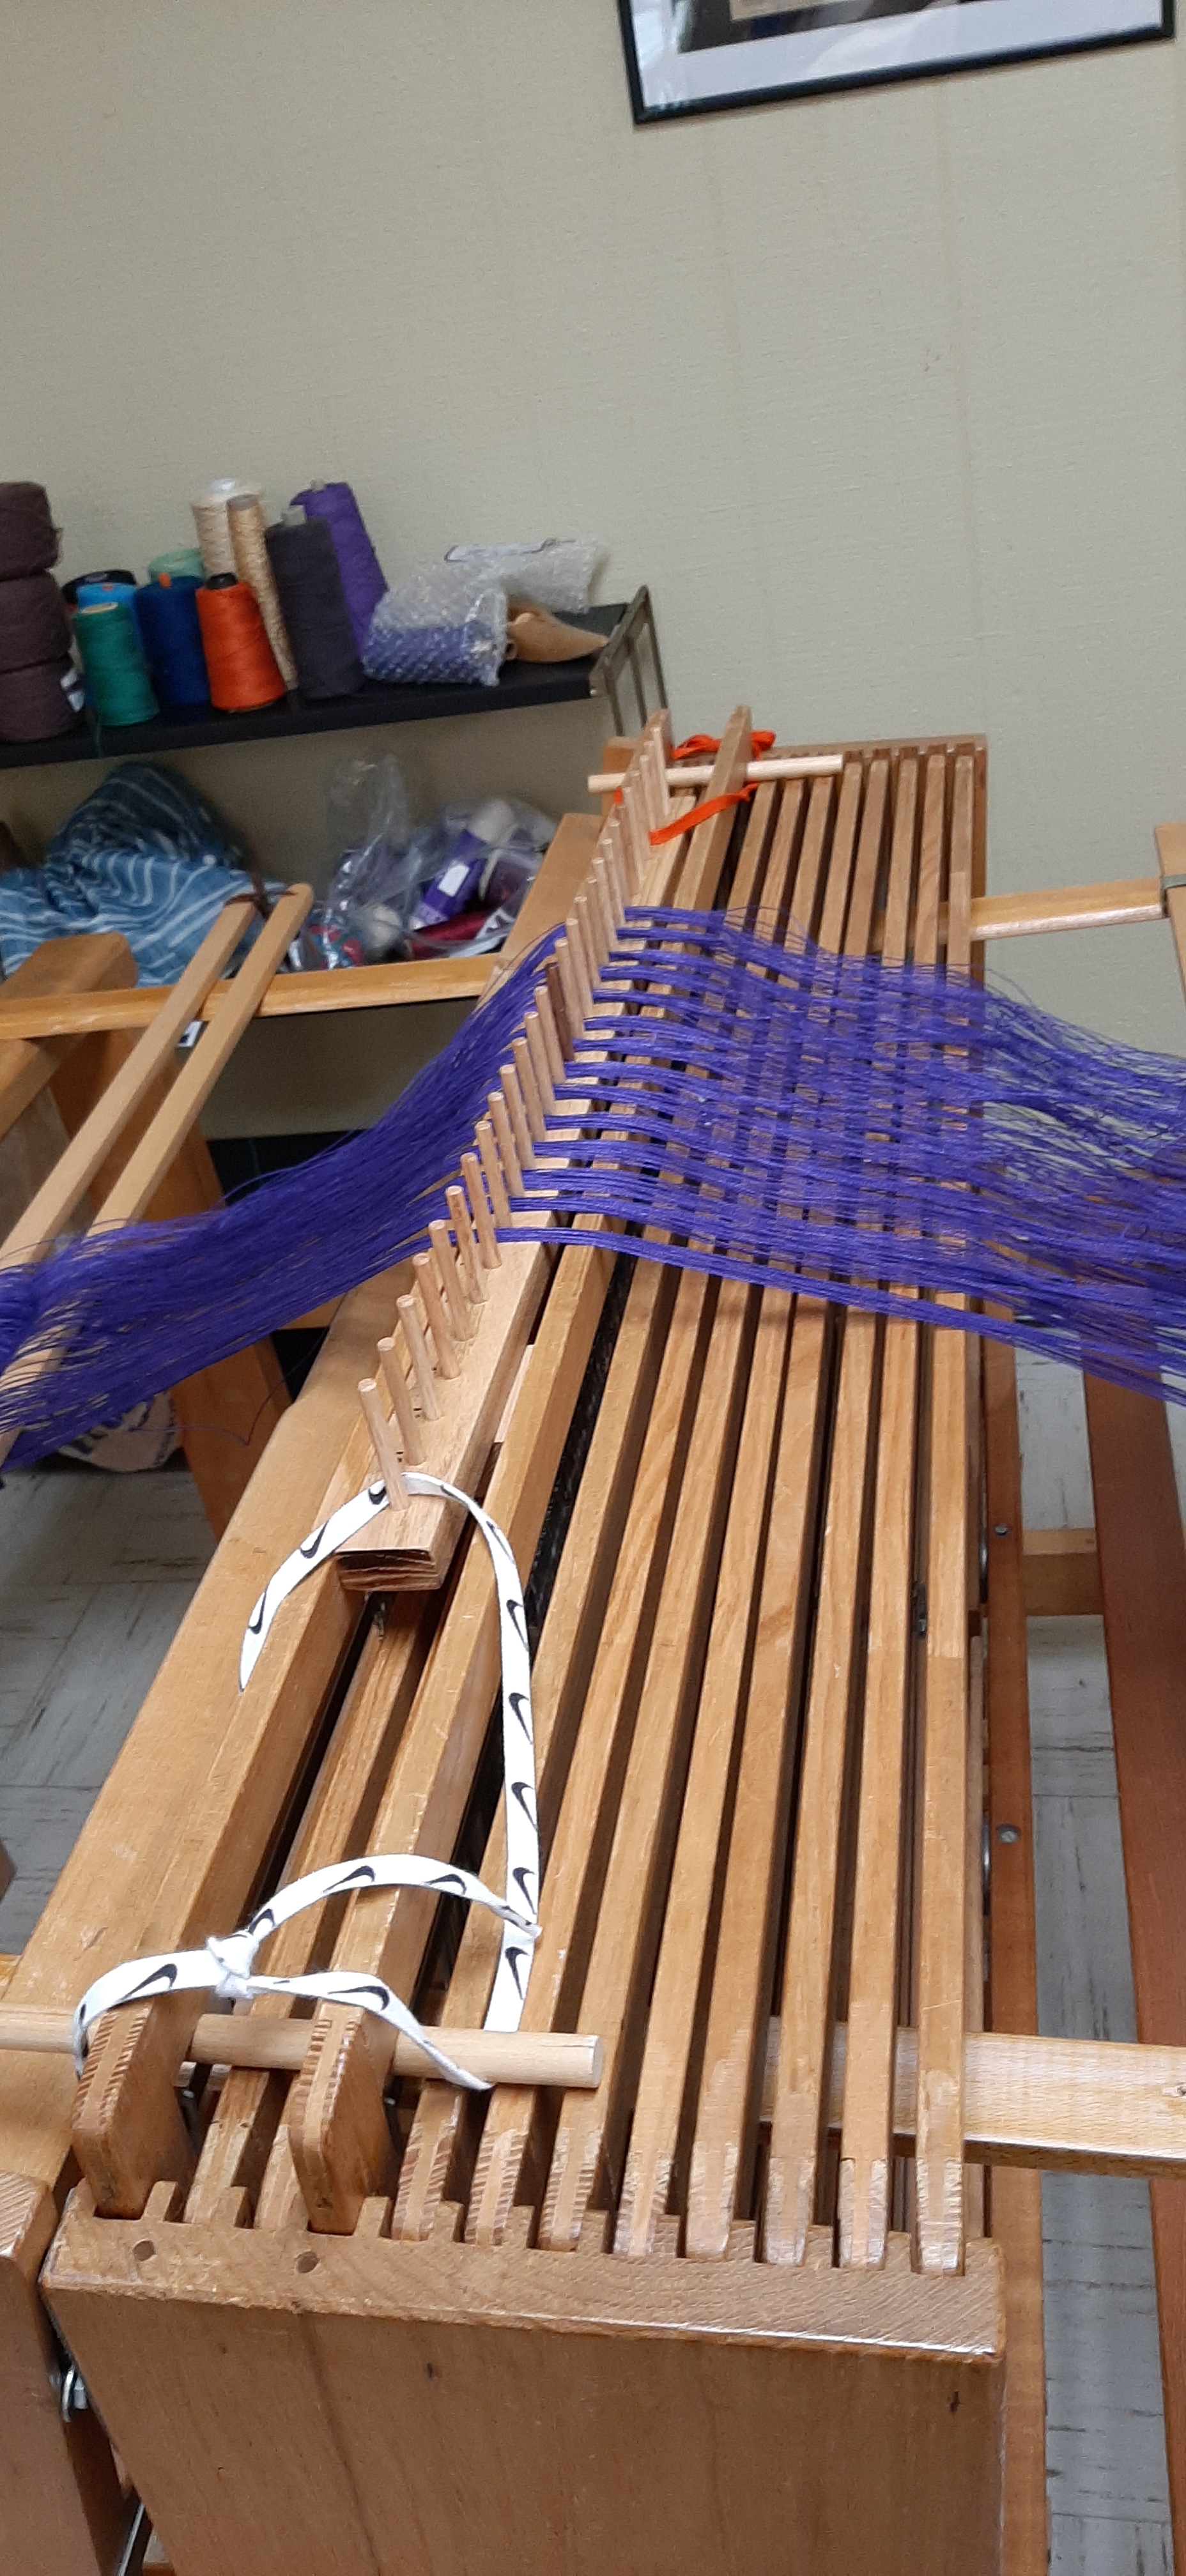
- Step 3: spread threads out evenly over the width of the project
- Tie the raddle (long pice of wood with small pegs space every inch) above the shafts
- Release the tension on the back beam and pull it up as far as it goes towards the shafts.
- Move the lease sticks (holding the cross) over the shafts and the raddle to the front of the loom.
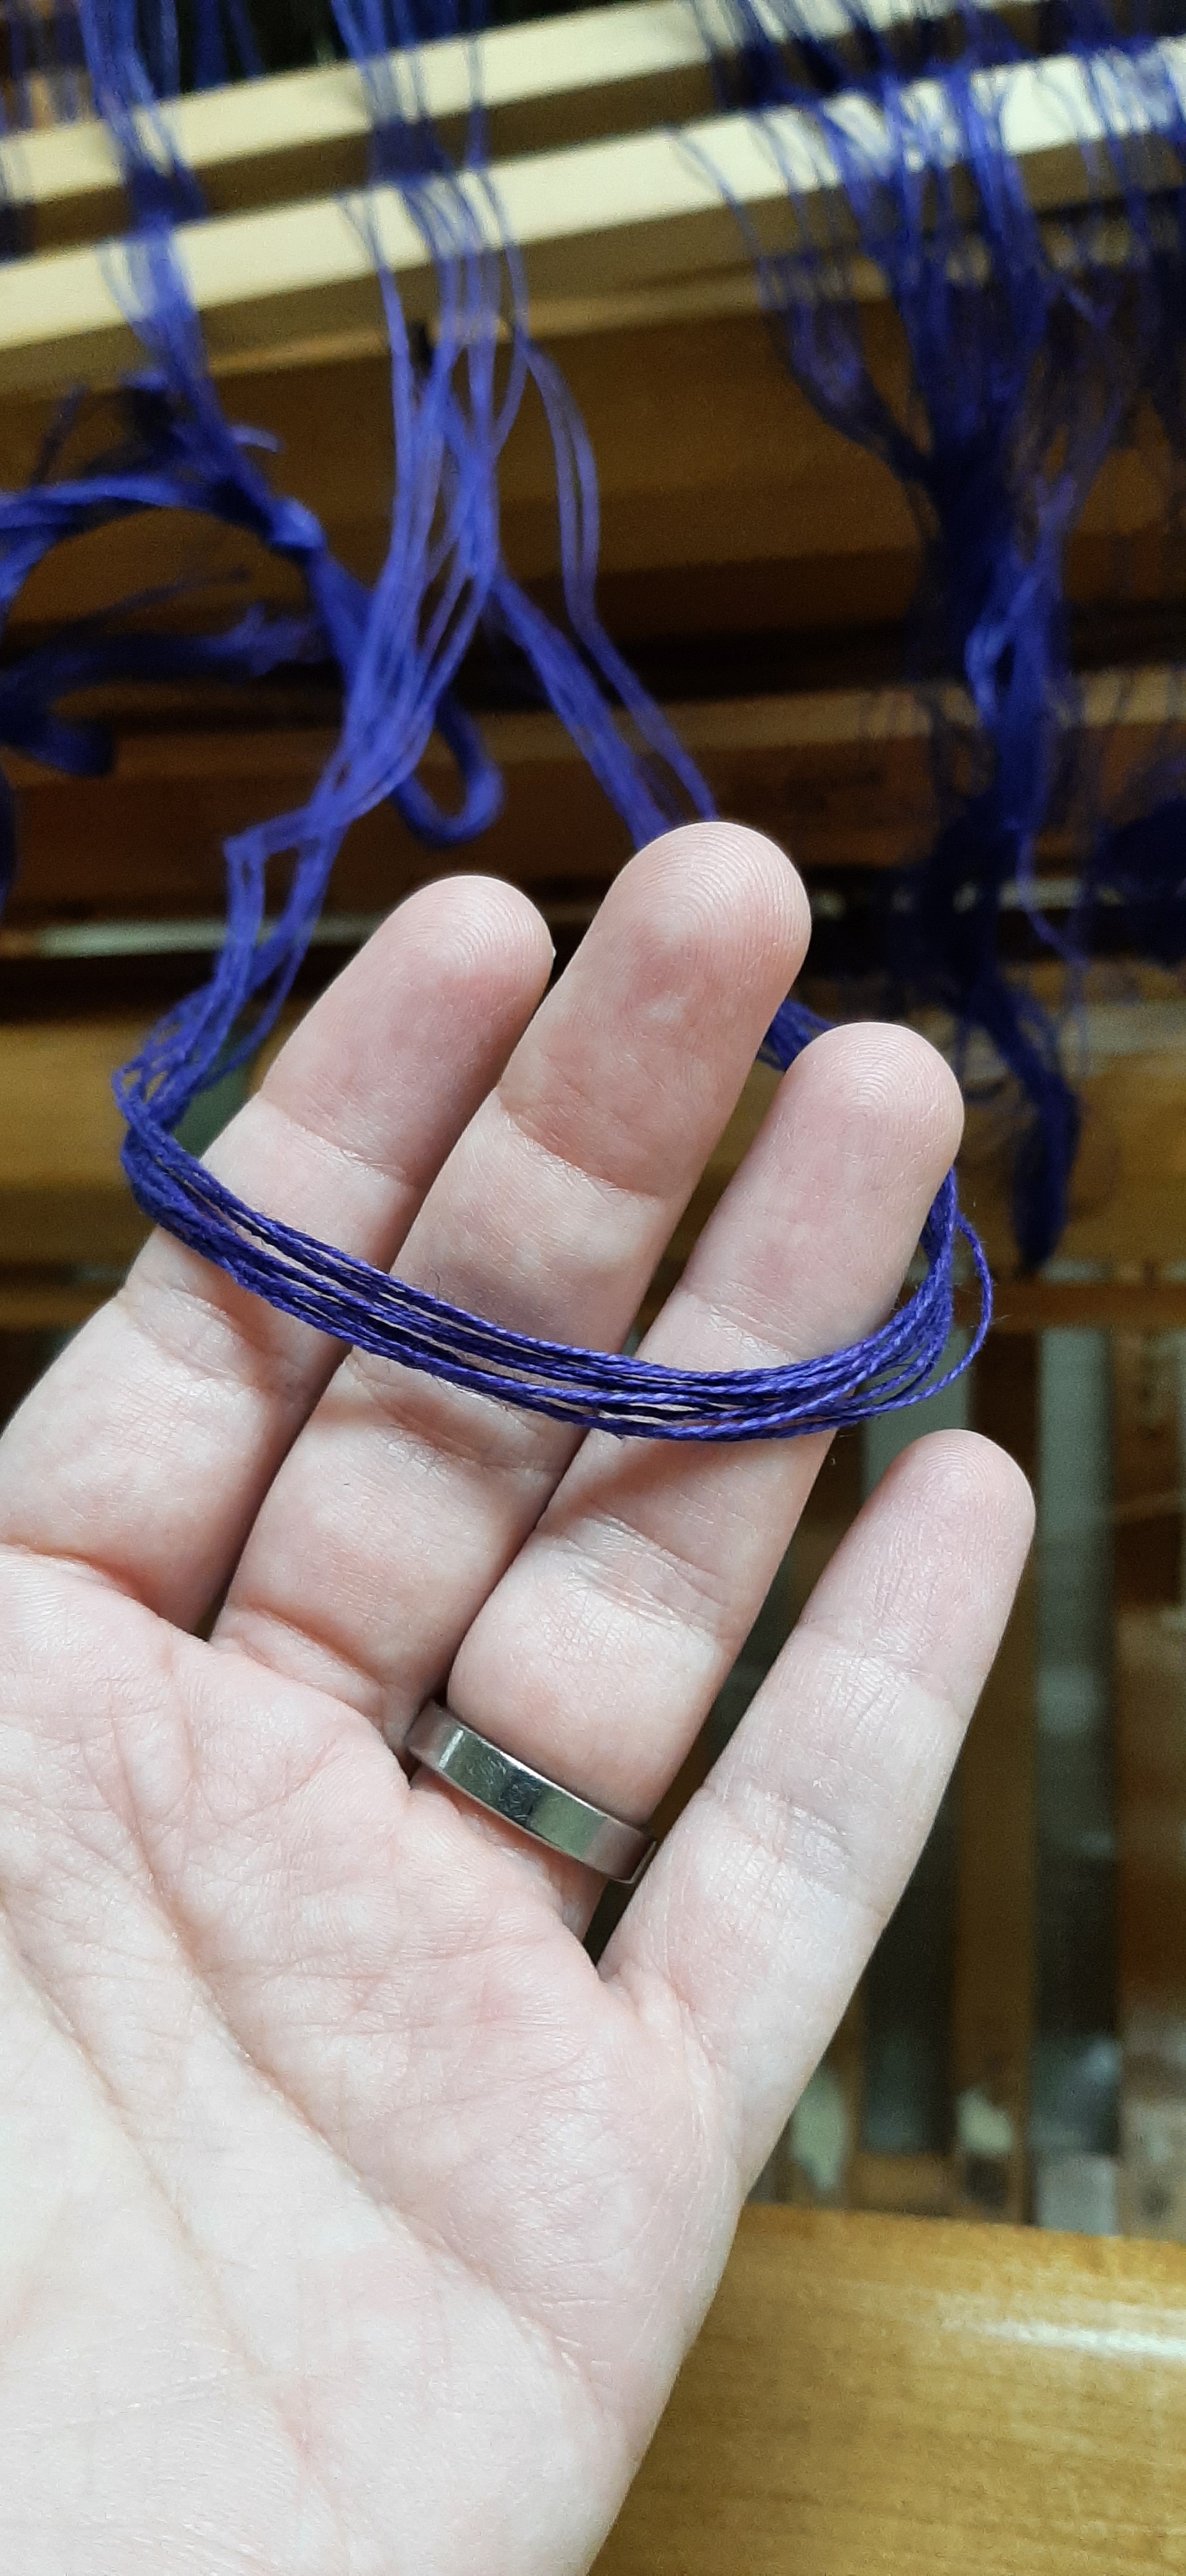
- Count bundles of threads according to the EPI (ends per inch) noted in pattern, and space the bundles of threads accordingly in the raddle, centered on the middle of the loom

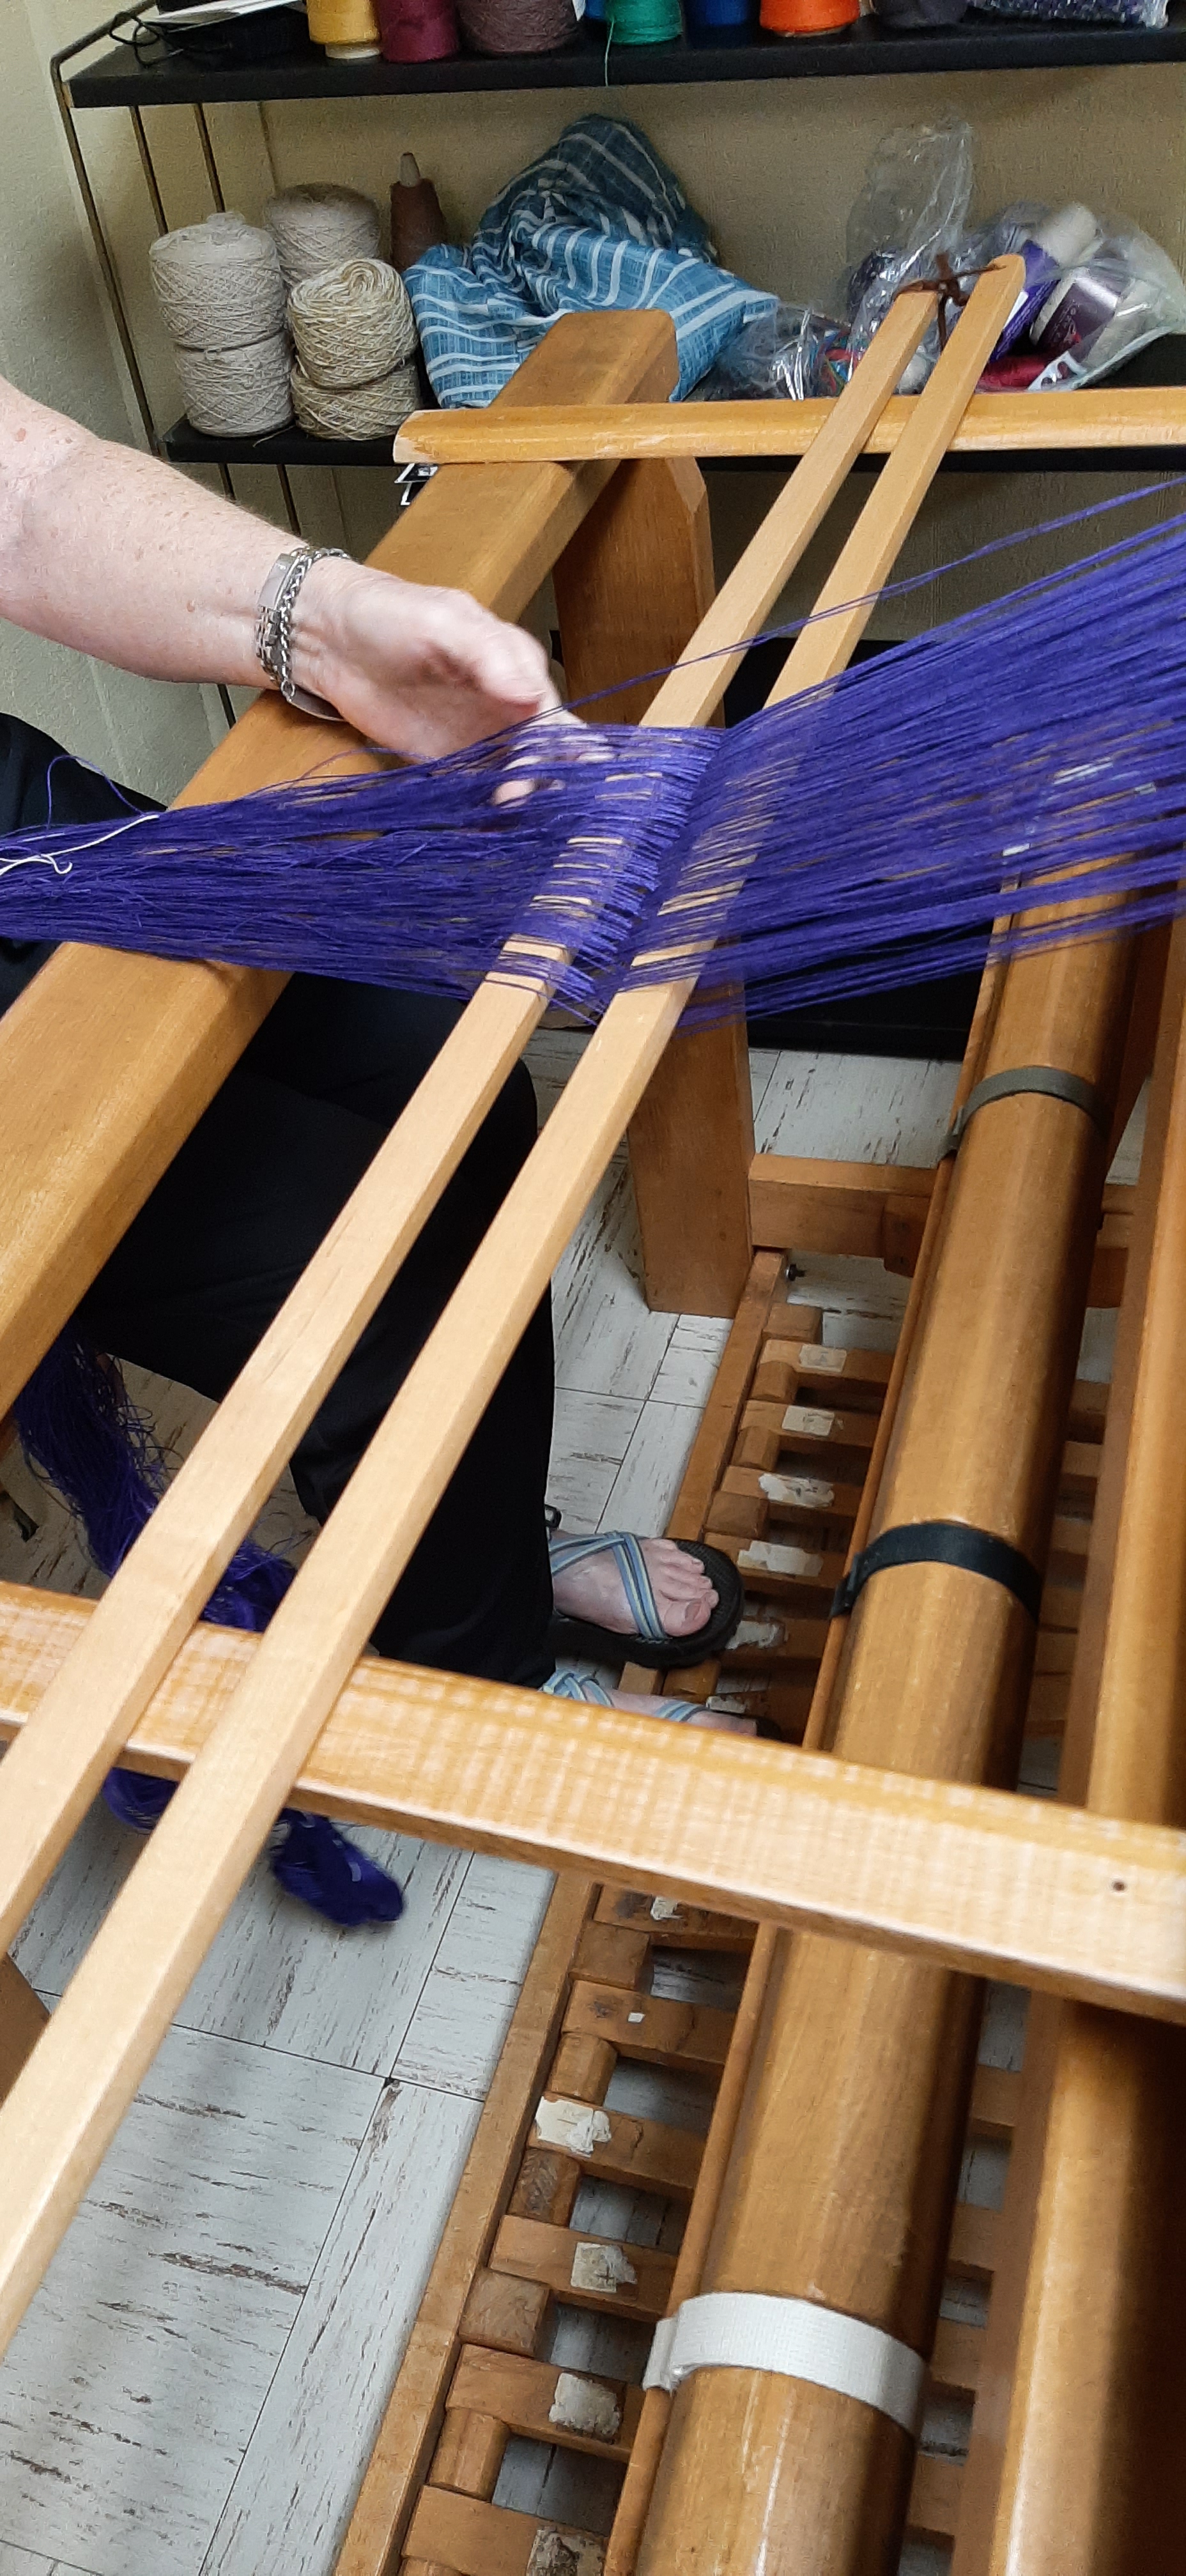
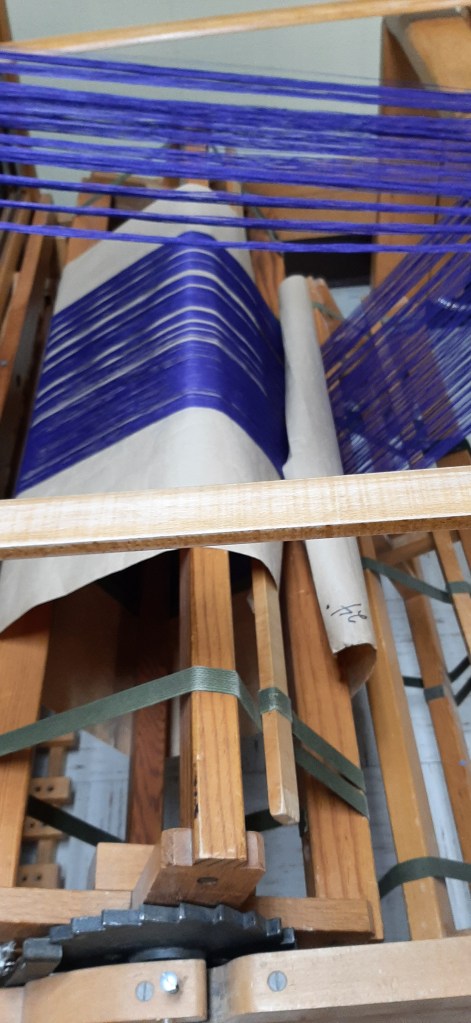
- Step 3: wind the back beam
- This step is best with 2 people
- One person at the front of the loom gently guides the lease sticks down away from the shafts and prevents tangles
- One person turns the back beam to wind the entire length of the warp around the beam
- Place a roll of paper in between layers of yarn to prevent tangles on the back beam
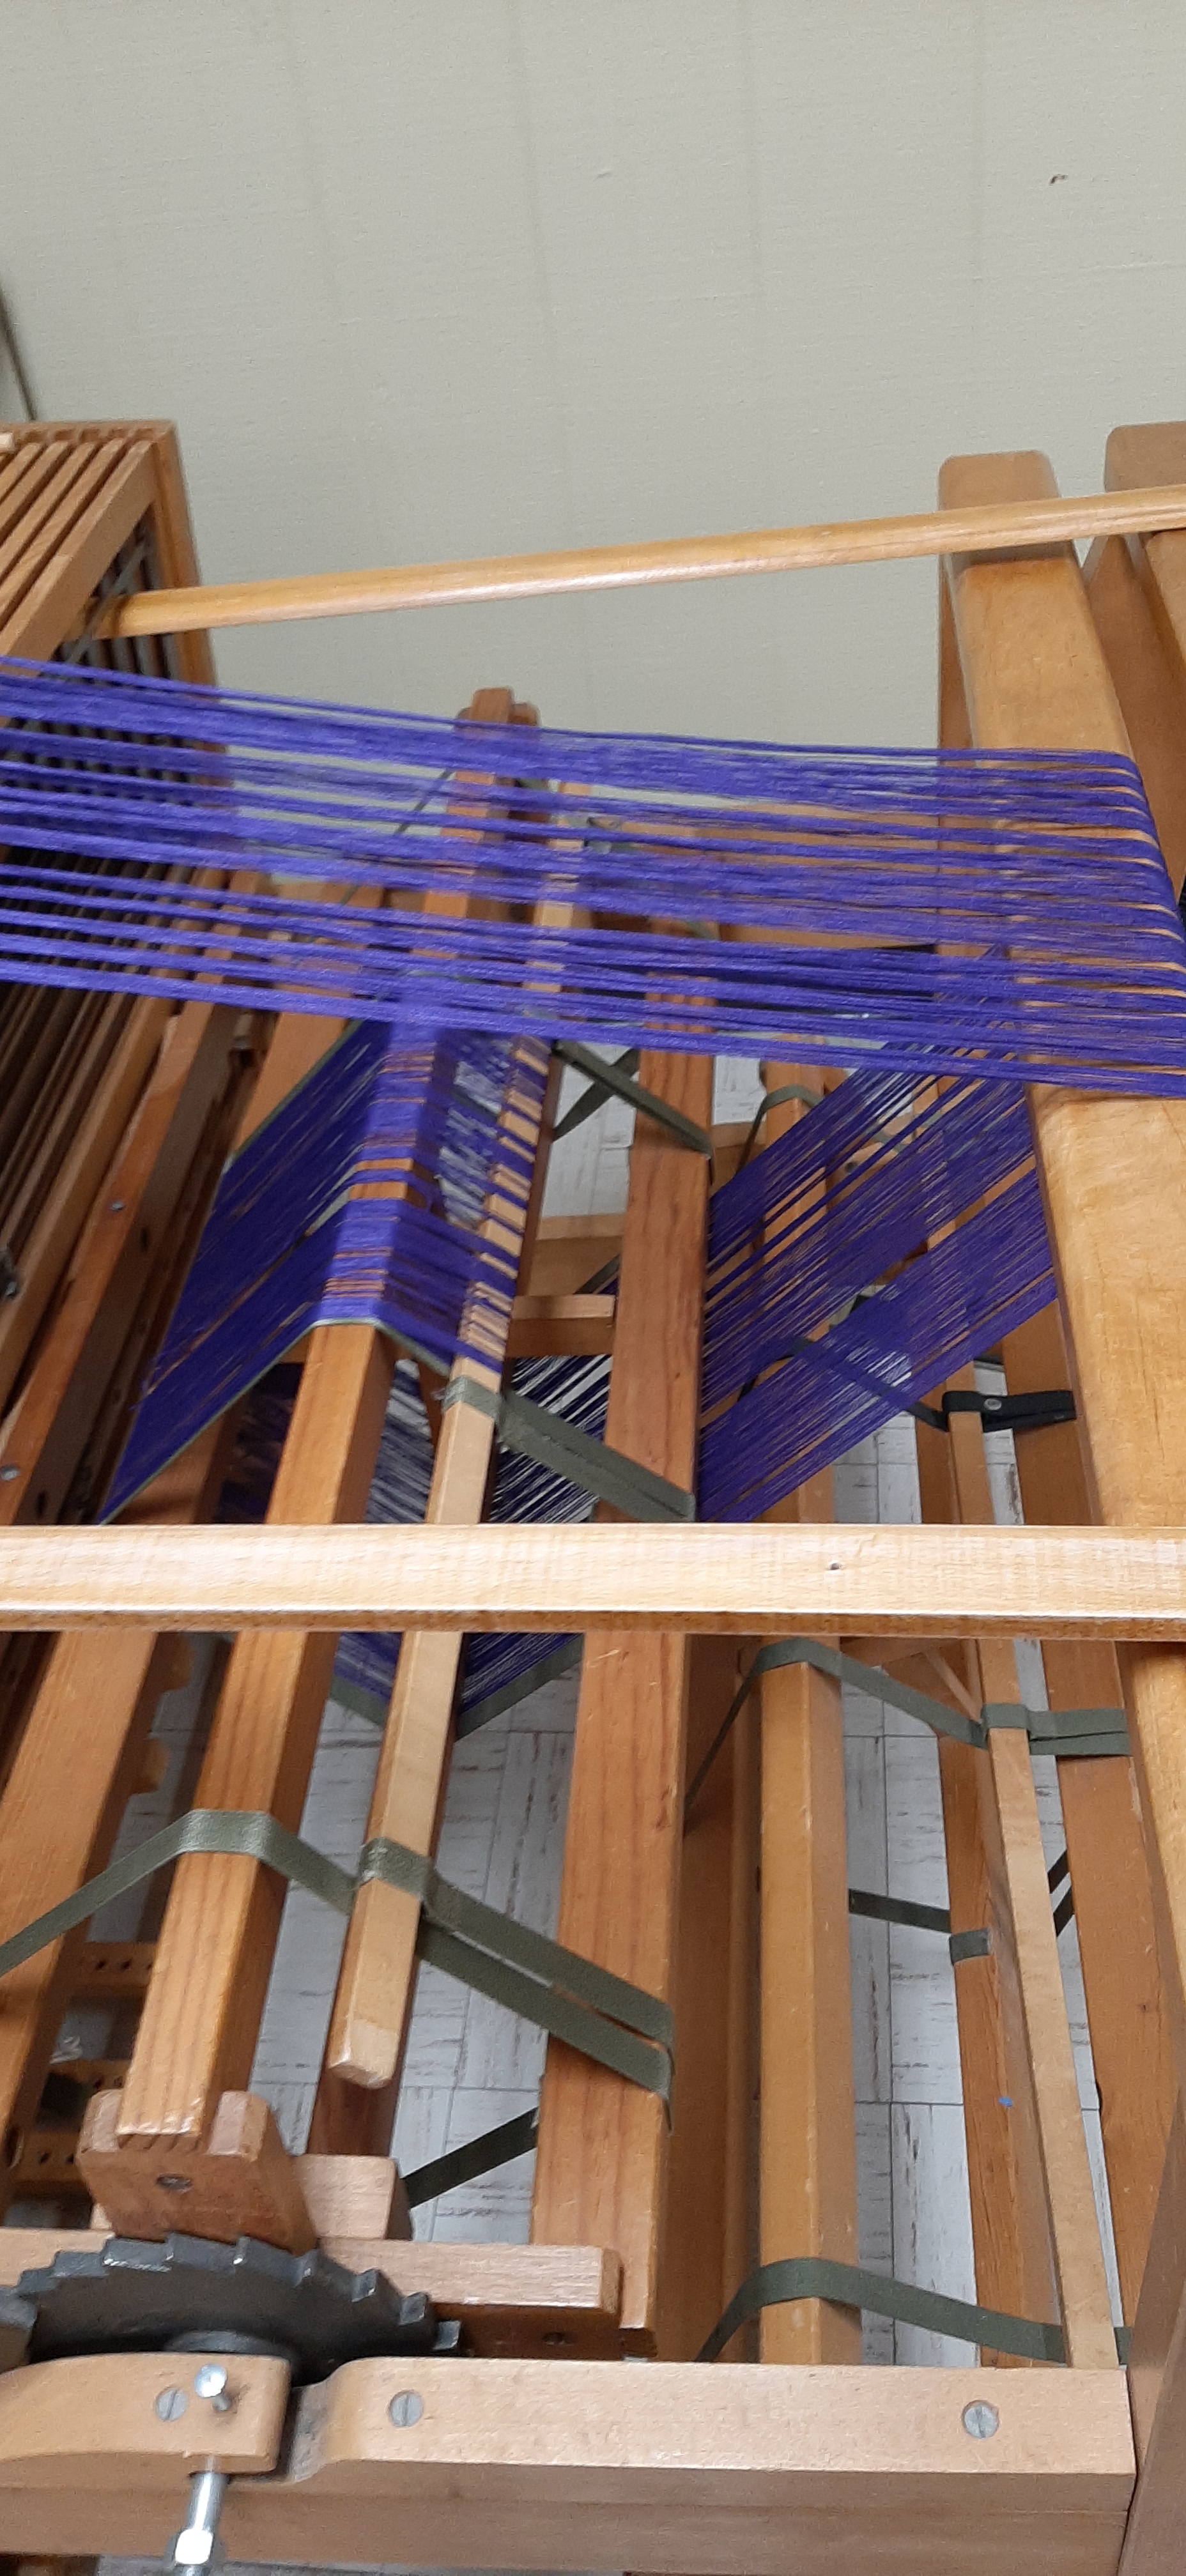
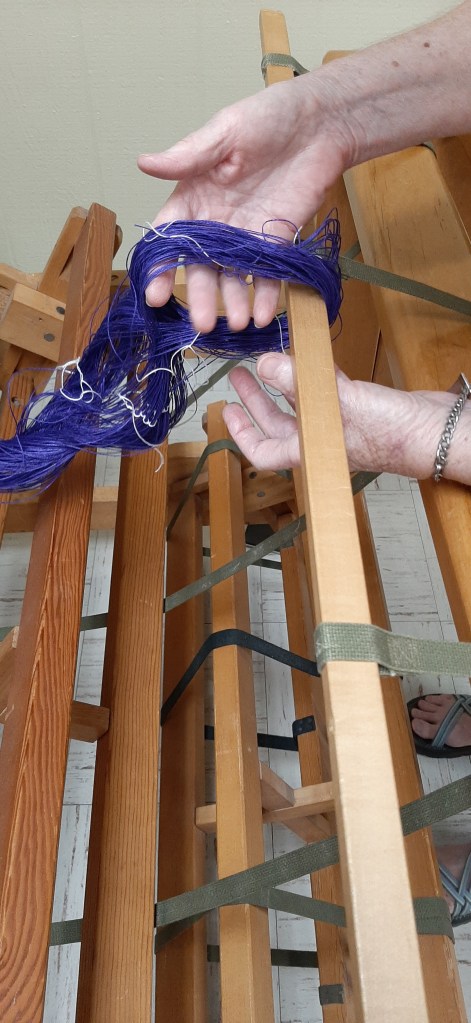
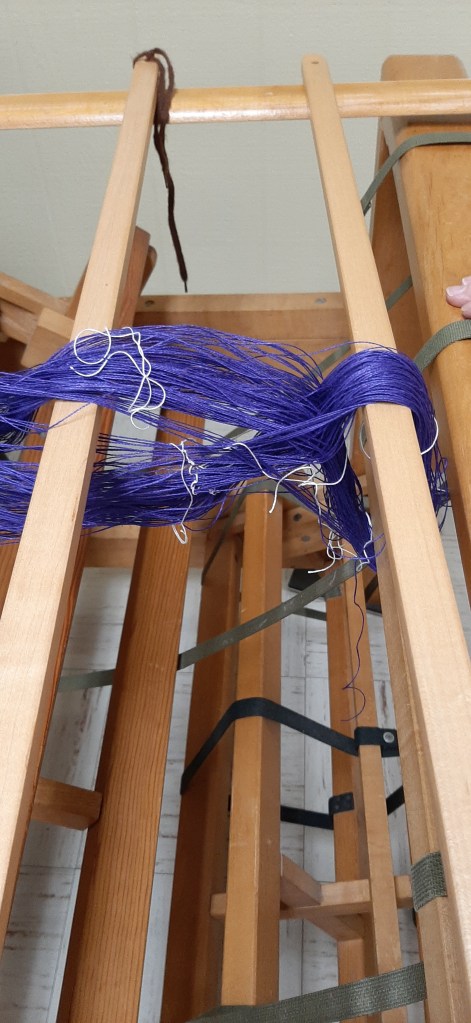
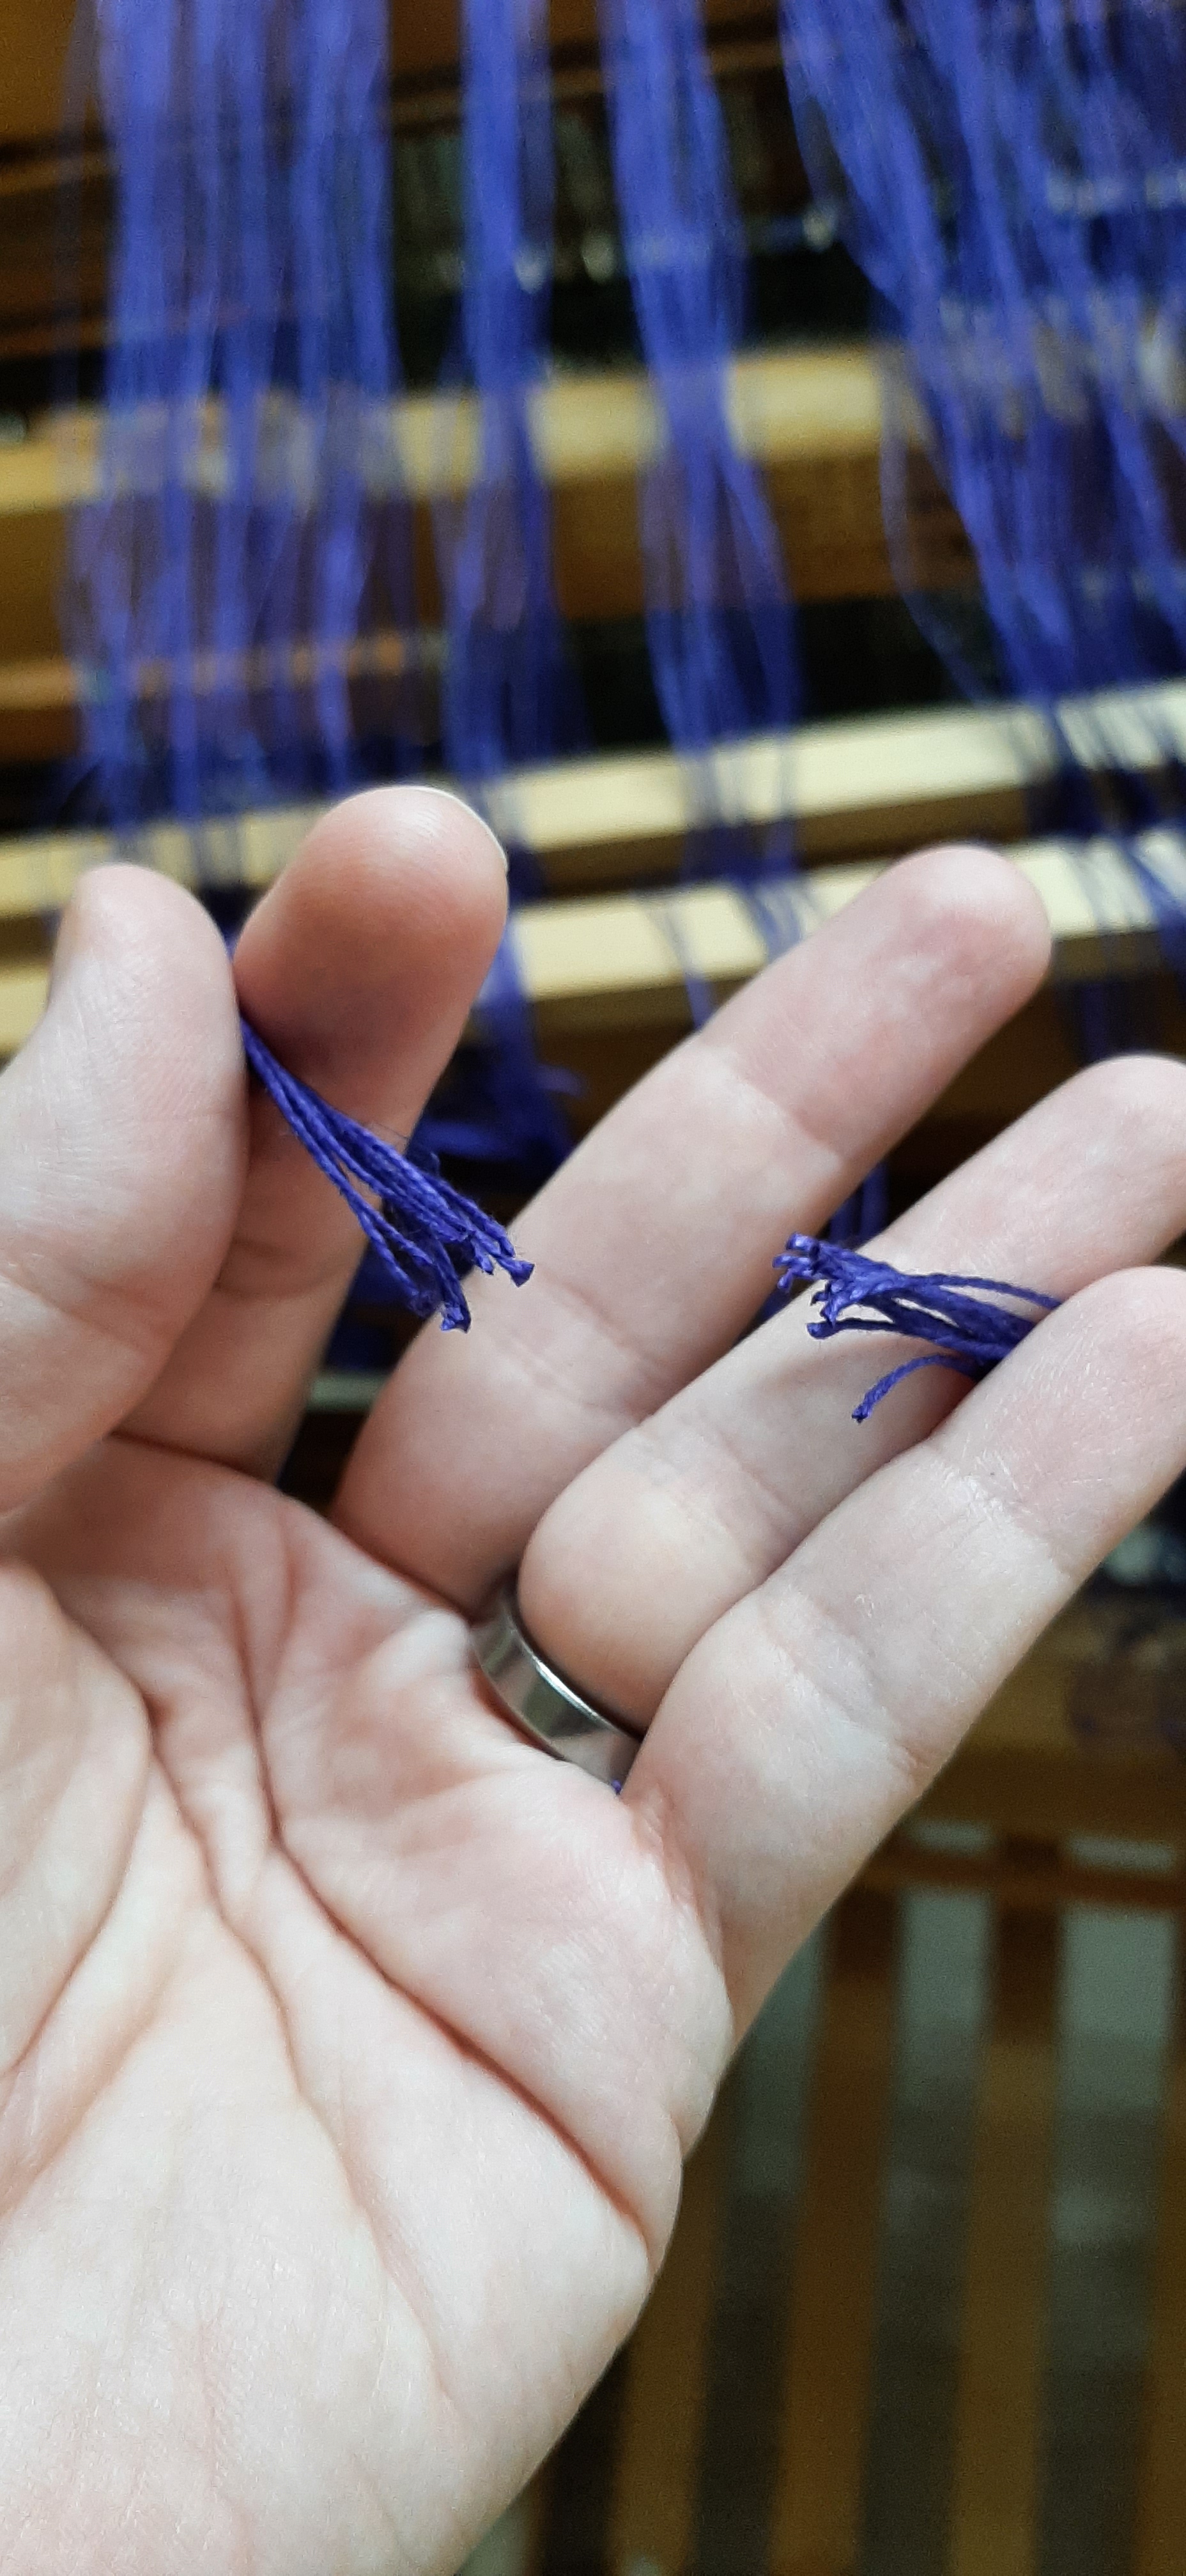
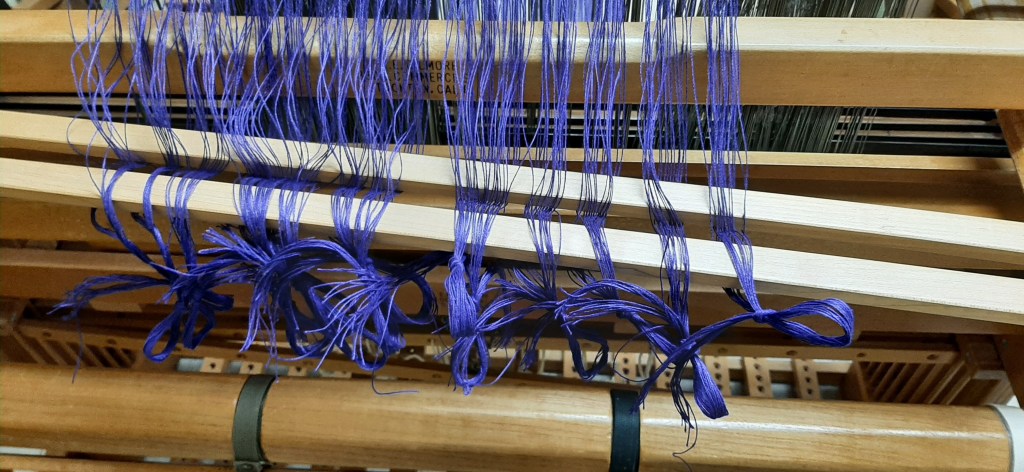
- Step 4: cut & tie the front warp ends
- Take bundles of threads from the raddle one inch at a time, cut the threads at the top of the loop and tie off the bundle
- Move the lease sticks behind the shafts
- Remove the raddle
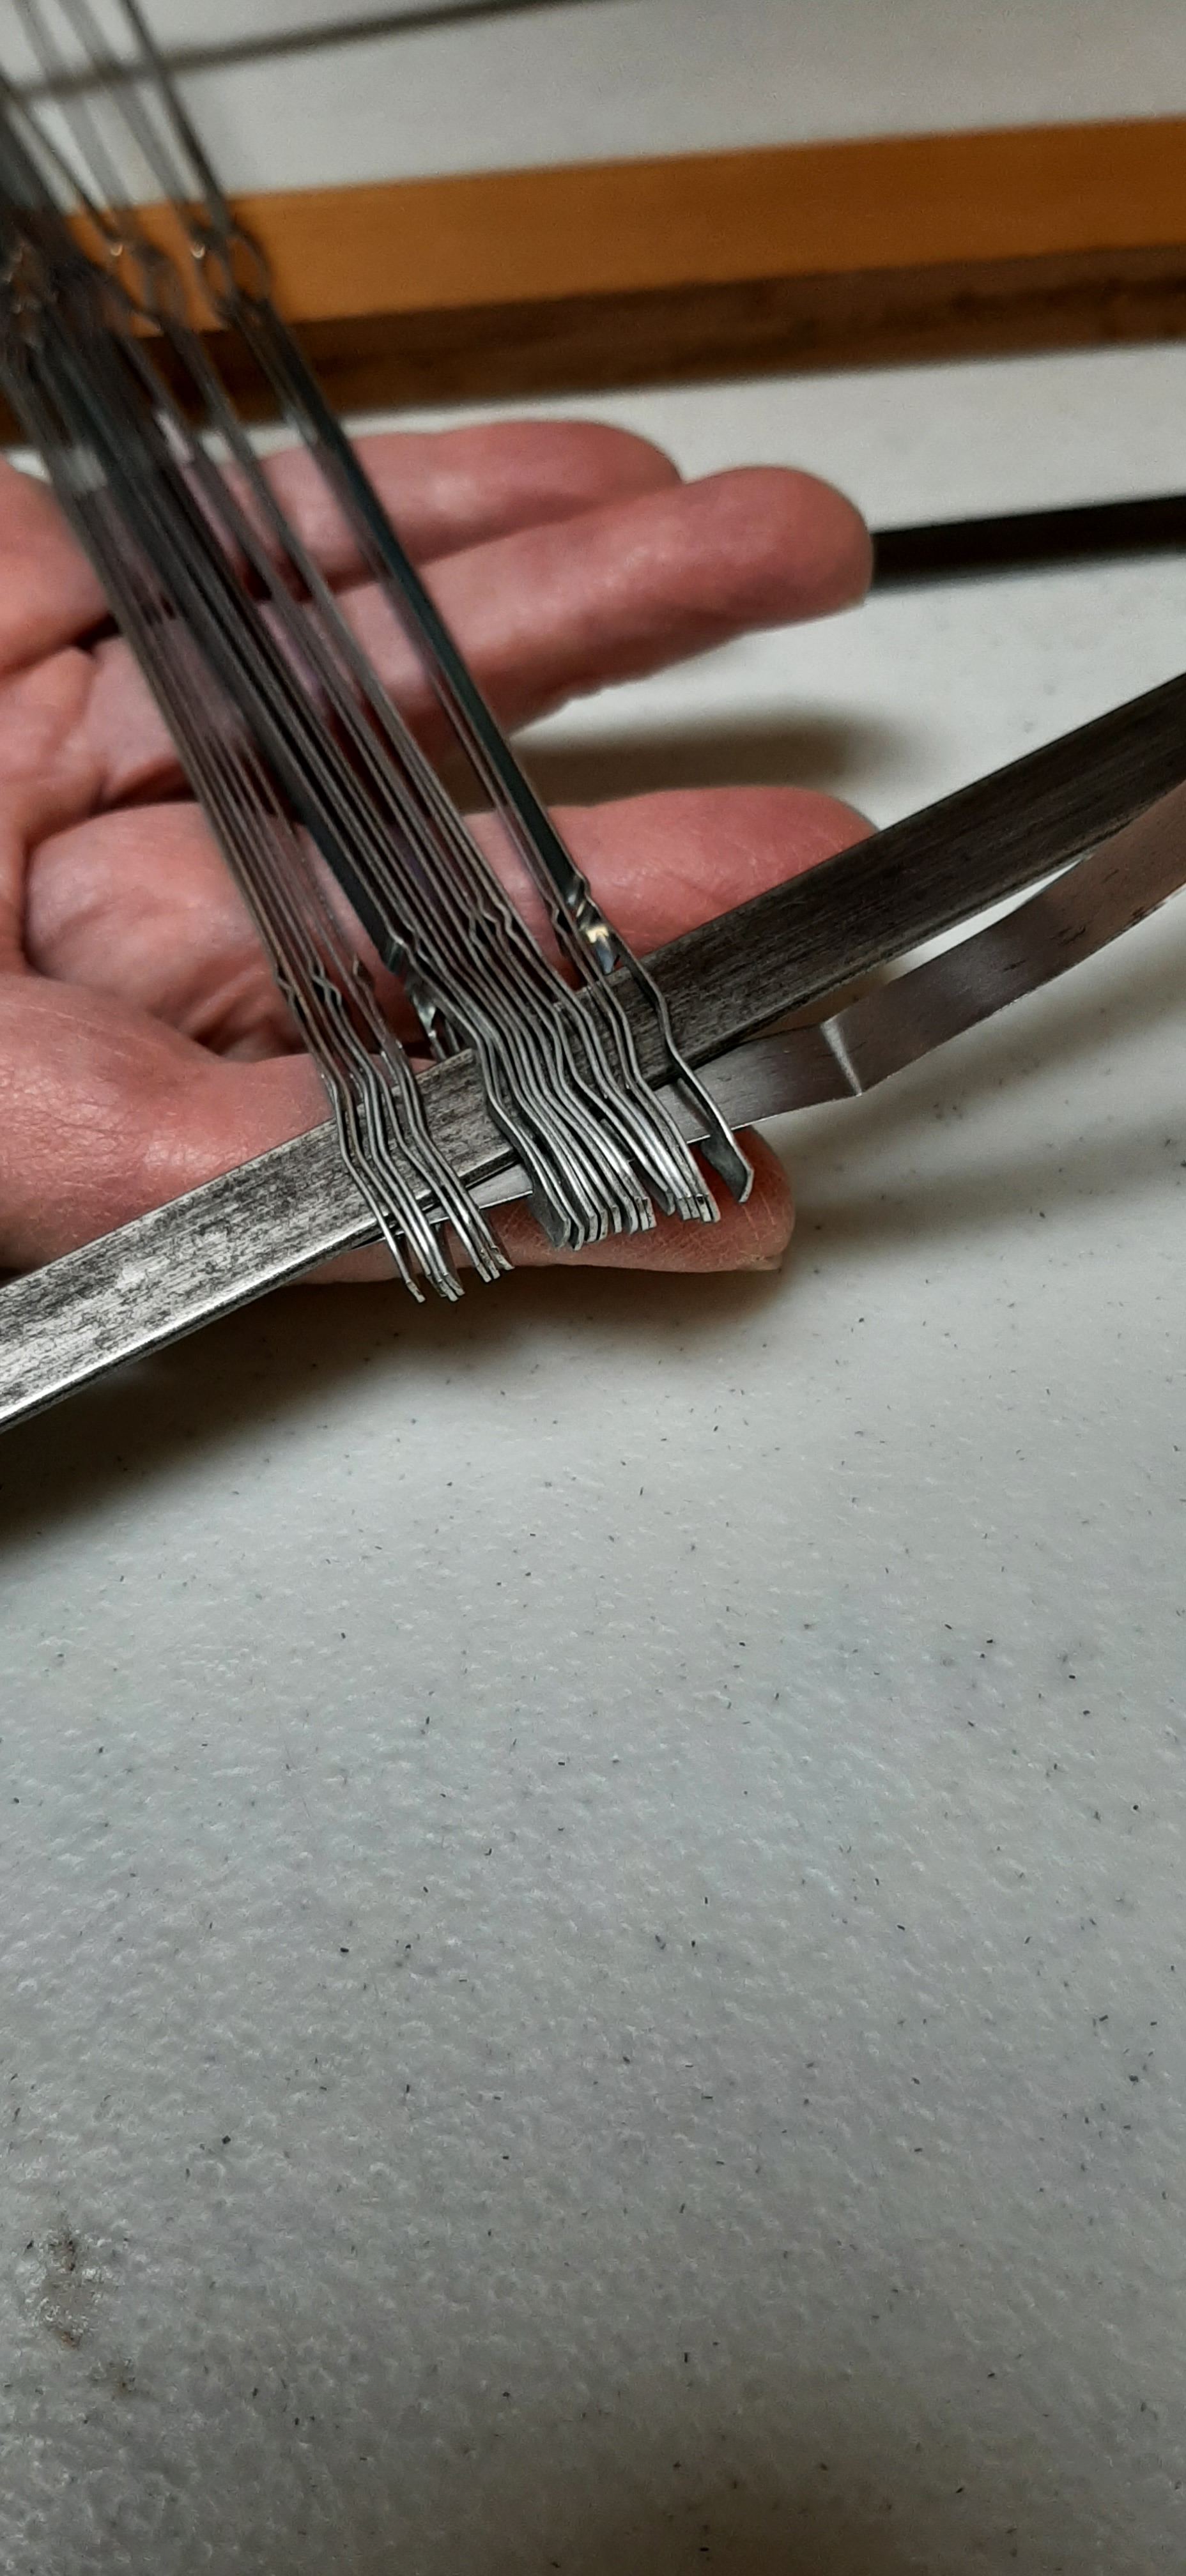
- Step 5: prepare shafts for threading
- Check that there are enough heddles for your project on each shaft (pattern will tell you how many you need)
- add heddles if necessary, be sure to thread them all in the same direction without getting them twisted
- Spread any excess heddles evenly on both sides of the loom (to prevent uneven extra weight from damaging the loom)
- Raise all the shafts up and prop them with scrap wood
- Spread bundles of threads back out on top of the propped up shafts


Now I’m ready to start threading the heddles, but not today! These first 5 steps took me a whole afternoon, and the threading process will take even longer, so stay tuned for a part 2 of this tutorial sometime in the next few weeks!
- Project: matzoh cover napkins
- Medium: weaving & embroidery
- Pattern: “Classic Linen Lace” from Handwoven Magazine, design collection, volume 11, page 3
- Material: bockens 100%linen color #487, weight 16/2
- Related Posts: l’shana haba’ah b’yachad
#weaving #embroidery #workinprogress #tutorial


Leave a comment